

Vibe Coder Prompt Library
Curated from practical GitHub, Reddit, and X coding-agent workflows, then tuned for building SaaS features with Claude Code, Cursor, and any AI tool. Auth, billing, database, AI, deployment — everything you need.
Includes plan-first, handoff, review, debugging, UI polish, and launch-readiness prompts.
How to use
Copy any prompt, paste into Claude Code or Cursor, and adjust the parts in [brackets] for your project. Most prompts work with zero modification.
44 prompts
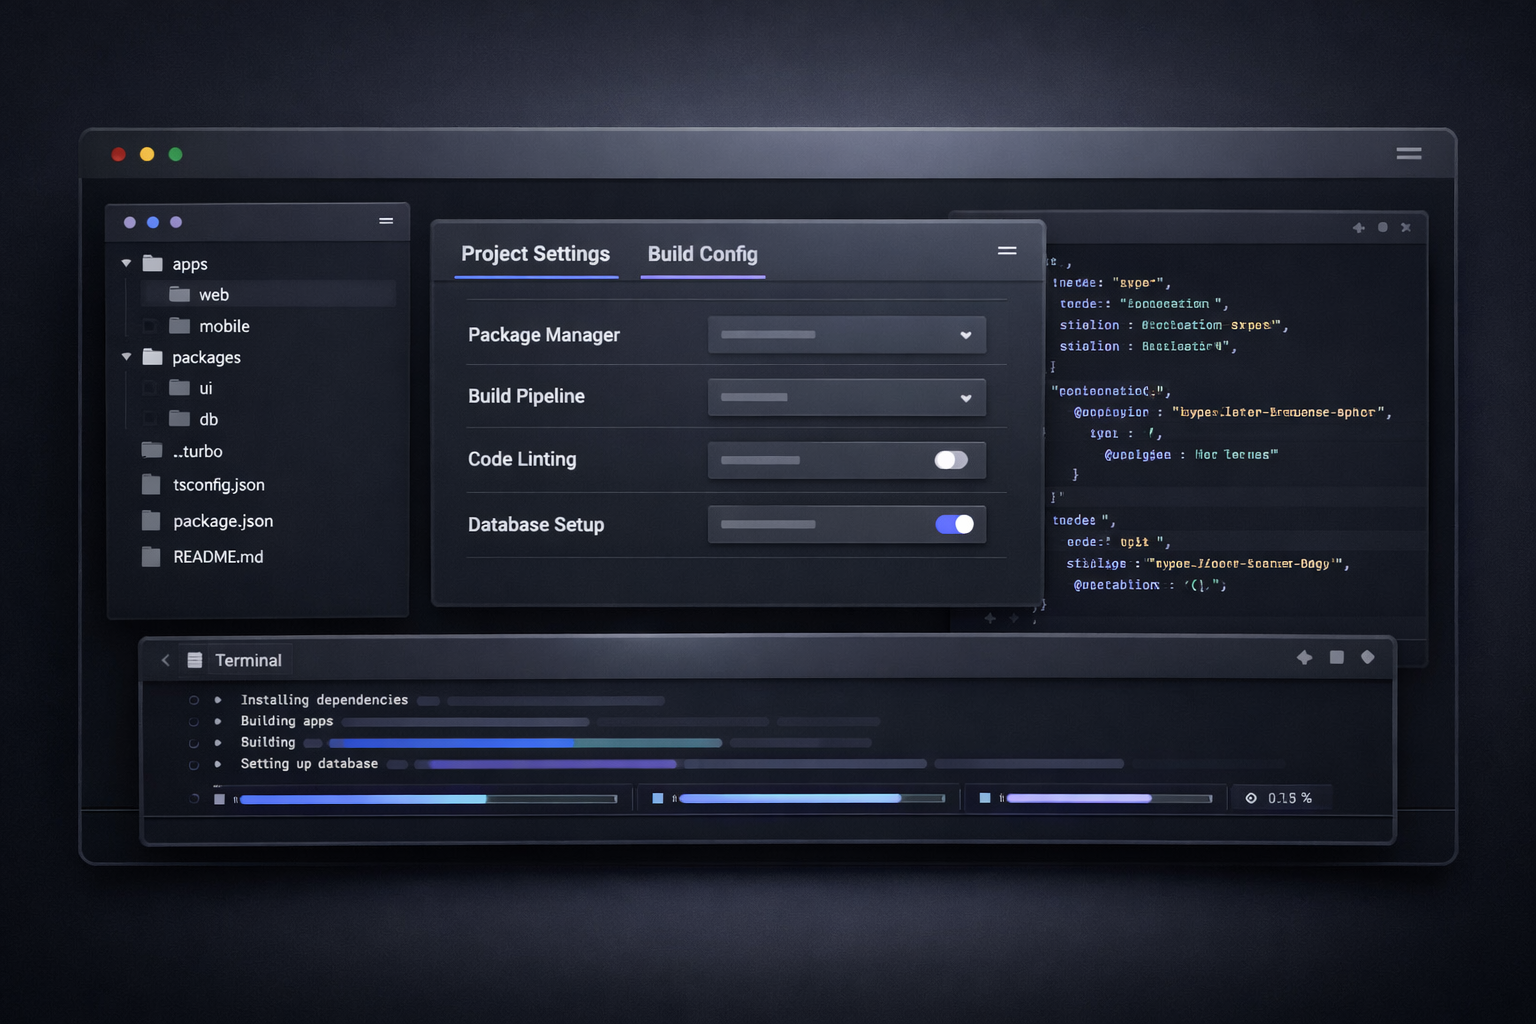
Turborepo monorepo from scratch
Scaffolds a production-ready Turborepo with a Next.js app, shared UI, and database packages.
→ Create a Turborepo monorepo with pnpm workspaces structured as:

apps/
  web/          — Next.js 15 App Router, TypeScript, Tailwind CSS, Shadcn UI
packages/
  ui/           — Shared React components, exports Button, Card, Input, Badge
  database/     — Drizzle ORM + Neon, exports db, schema
  config/       — Shared TypeScript, ESLint, and Tailwind configs

Requirements:
- TypeScript paths (@launchkit/ui, @launchkit/database, @launchkit/config)
- turbo.json with build, dev, lint, test pipelines
- Root .env.example with DATABASE_URL
- pnpm-workspace.yaml
- Each package has its own package.json with correct exports

Do not install, just create the file structure and configs.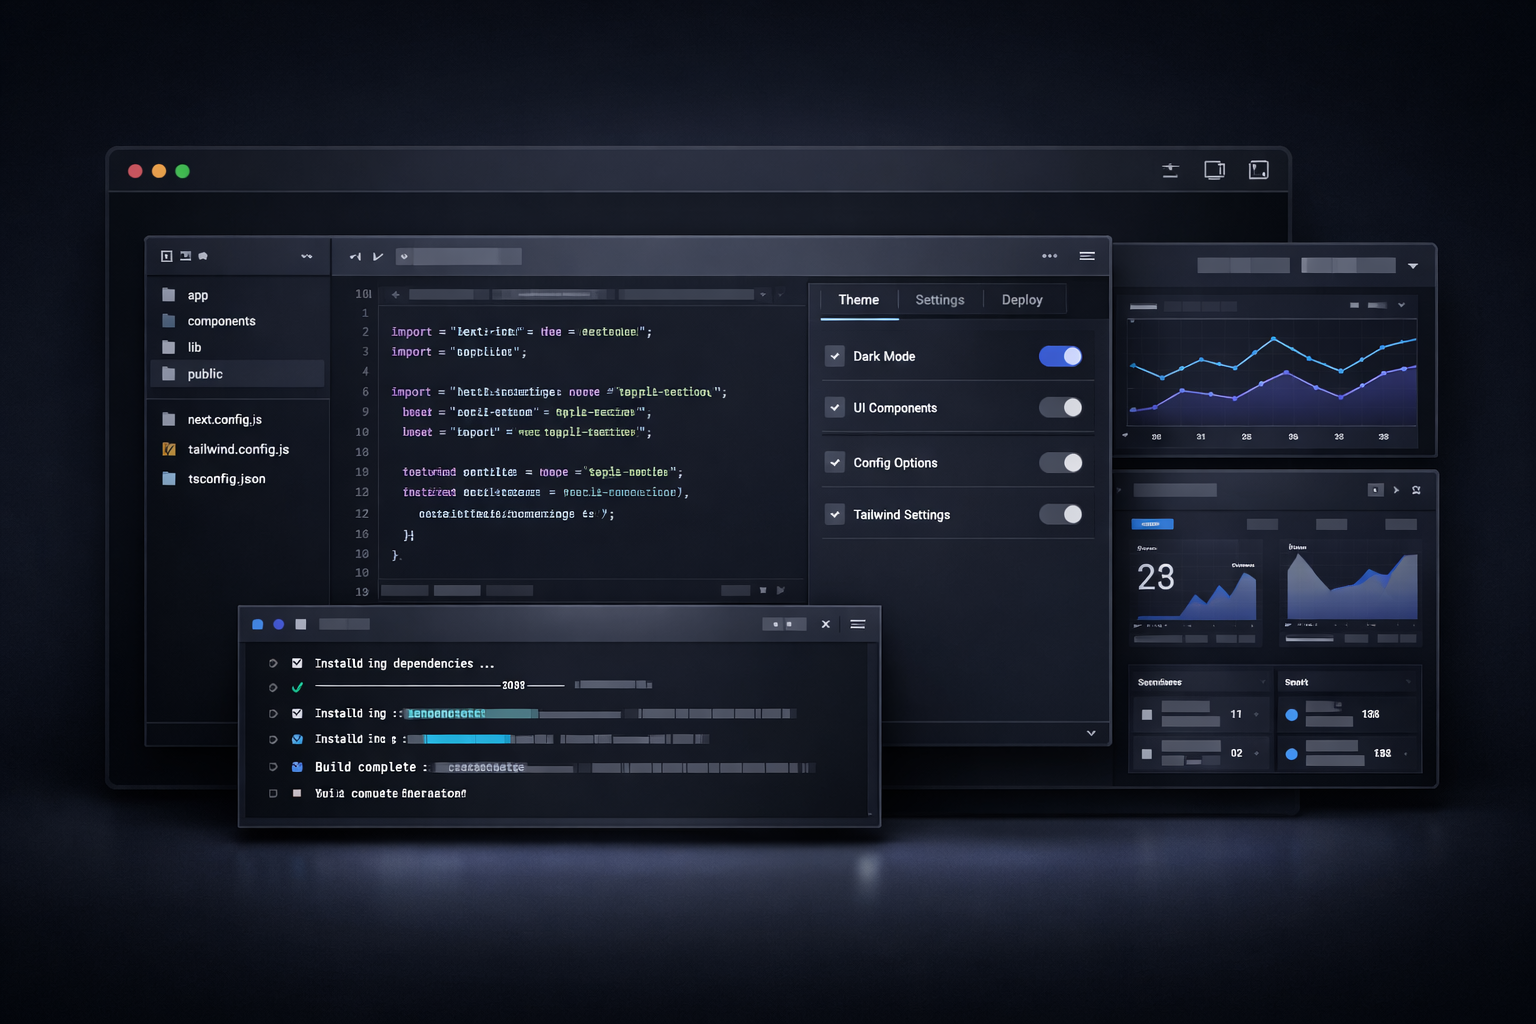
Next.js 15 + Shadcn UI full setup
Sets up a clean Next.js 15 project with Shadcn UI, dark mode, and a polished layout.
→ Set up a Next.js 15 App Router project with:

1. Tailwind CSS v4 configured
2. Shadcn UI initialized with the "new-york" style and neutral base color
3. next-themes for dark mode (ThemeProvider wrapping layout)
4. A root layout (app/layout.tsx) with:
   - HTML lang attribute
   - Geist Sans font
   - ThemeProvider with default="dark"
   - Toaster from sonner
5. A sticky site header with:
   - Logo on the left
   - Nav links: Features, Pricing, Docs
   - Sign In button + primary CTA button on the right
   - Dark mode toggle (Sun/Moon icon)
6. A site footer with copyright and social links

Use TypeScript. All components go in components/. All utilities in lib/utils.ts.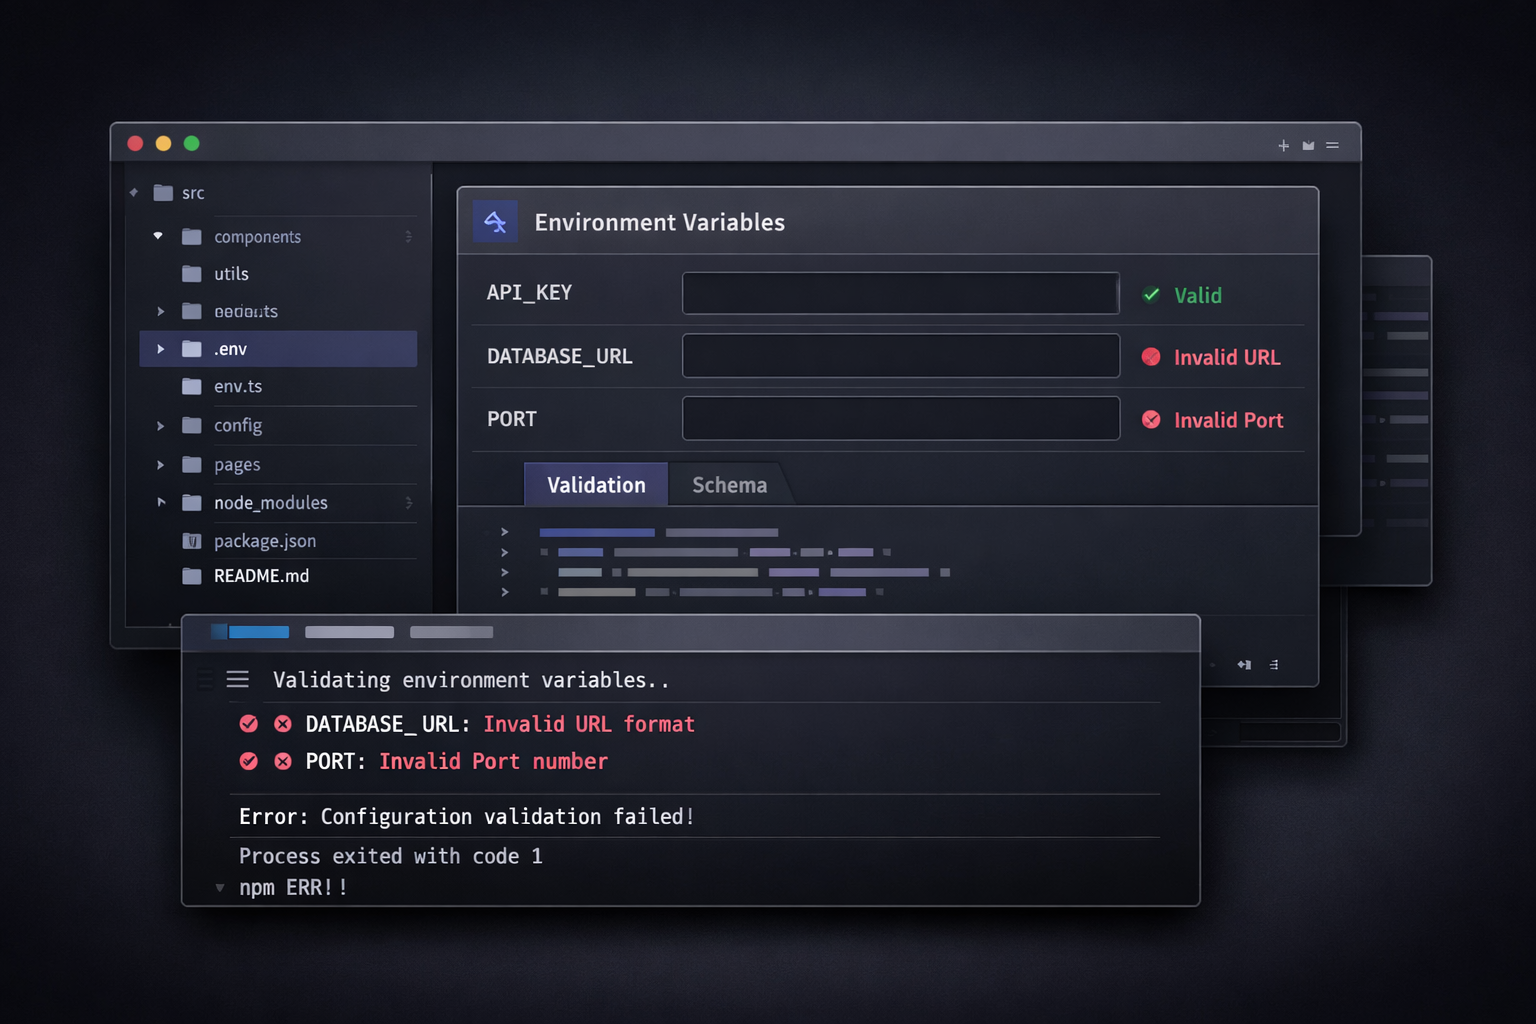
Type-safe environment variables
Validates env vars at startup with zod so you get clear errors, not cryptic runtime crashes.
→ Create a type-safe environment variable module at lib/env.ts for a Next.js app.

Use zod to validate at startup. Include:
- DATABASE_URL (string)
- NEXT_PUBLIC_CLERK_PUBLISHABLE_KEY (string)
- CLERK_SECRET_KEY (string)
- STRIPE_SECRET_KEY (string)
- NEXT_PUBLIC_STRIPE_PUBLISHABLE_KEY (string)
- STRIPE_WEBHOOK_SECRET (string)
- RESEND_API_KEY (string)
- NEXT_PUBLIC_APP_URL (string URL)
- Optional: OPENAI_API_KEY (string)

Export a typed env object. Server-side vars must not be imported in client components.
Throw a descriptive error if any required variable is missing, listing exactly which ones.
Add a comment explaining how to use this module.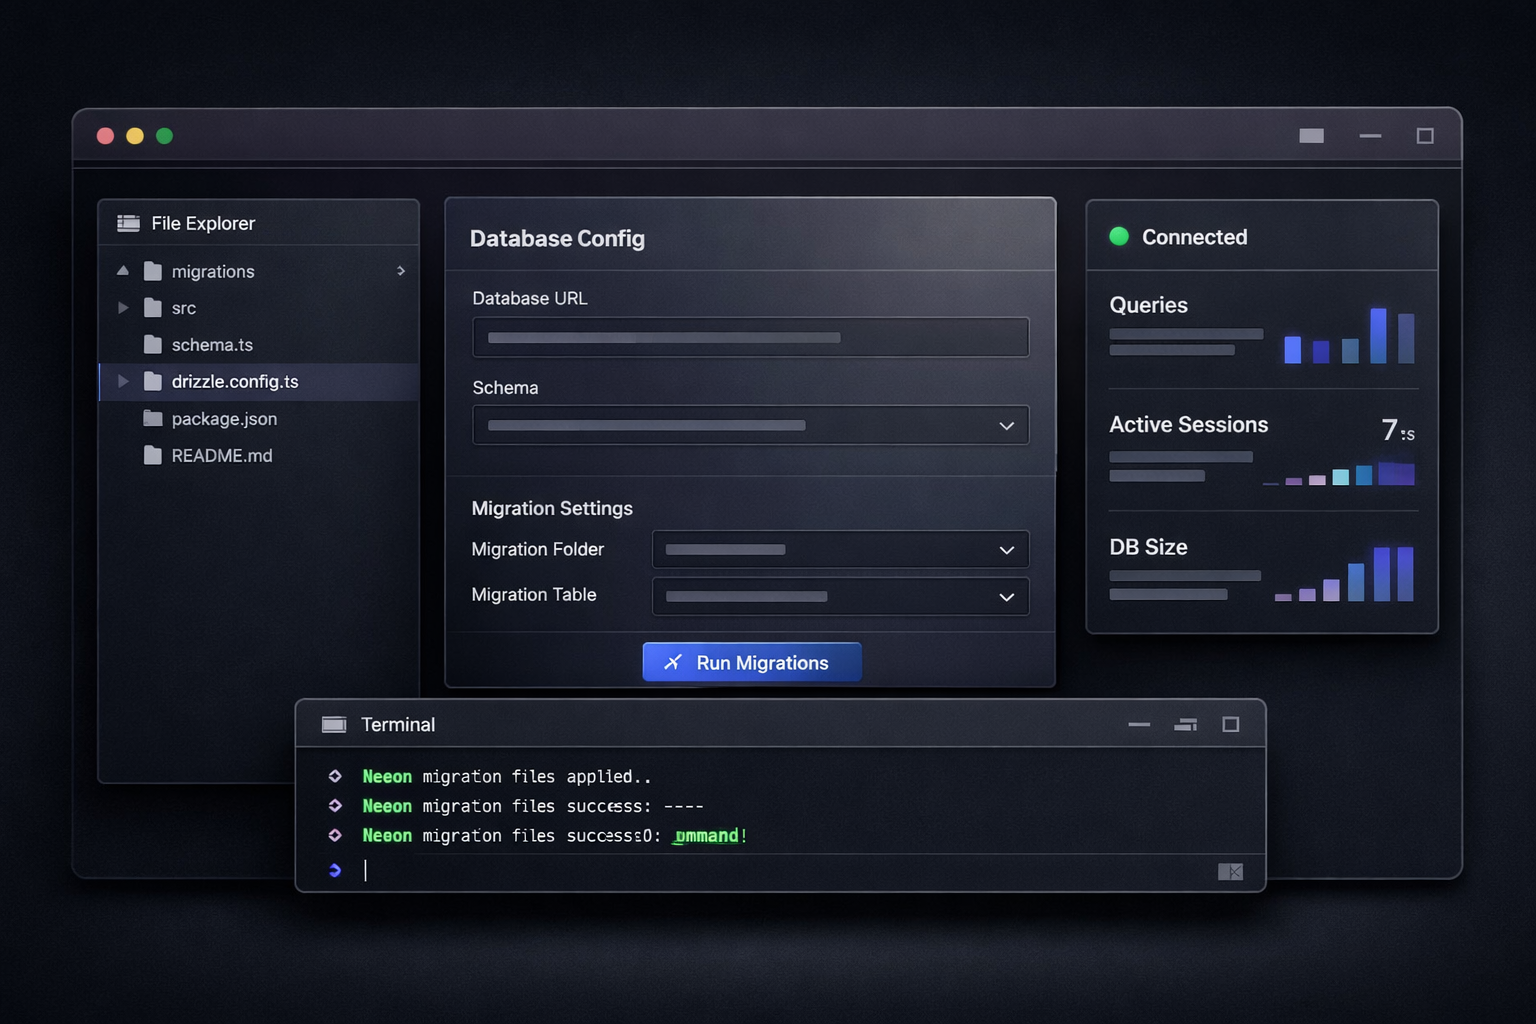
Drizzle ORM + Neon setup
Connects Drizzle ORM to a Neon serverless Postgres database with migration scripts.
→ Add Drizzle ORM with Neon (serverless Postgres) to a Next.js 15 App Router project.

Create:
1. packages/database/src/index.ts — exports db, sql helper
2. packages/database/src/schema/index.ts — barrel export
3. packages/database/src/schema/users.ts — users table with id (uuid), email, name, createdAt
4. drizzle.config.ts at the package root pointing to DATABASE_URL
5. package.json scripts: db:generate, db:migrate, db:push, db:studio

The db connection must work in both Node.js (API routes) and Edge runtime (middleware).
Use @neondatabase/serverless for the connection pool.
Use drizzle-orm/neon-http for the Drizzle instance.
Export types: User, NewUser.
CLAUDE.md for your repo
Generates a CLAUDE.md that teaches Claude Code your project structure instantly.
→ Generate a CLAUDE.md file for my Next.js 15 Turborepo monorepo.

The file should teach Claude Code:
1. Project structure and what each package/app does
2. How to run dev, build, test, and lint (exact commands)
3. How to add a new database table (step-by-step with example)
4. How to add a new API route (conventions used)
5. How to add a new page (App Router conventions)
6. Key files to know: auth config, db config, env config, billing config
7. Code style rules: TypeScript strict mode, named exports, no default exports from lib files
8. What NOT to do: common mistakes to avoid in this codebase
9. How to run database migrations
10. How to test a Stripe webhook locally

Format it for maximum agent readability — headers, code blocks, and clear commands.
Clerk full setup (Next.js 15)
Adds Clerk auth end-to-end: provider, middleware, protected routes, and sign-in/sign-up pages.
→ Add Clerk authentication to my Next.js 15 App Router project.

Steps:
1. Wrap app/layout.tsx with ClerkProvider
2. Create middleware.ts that:
   - Uses clerkMiddleware()
   - Protects /dashboard/*, /settings/*, /admin/* routes
   - Allows all other routes through
3. Create app/auth/sign-in/[[...sign-in]]/page.tsx using Clerk's <SignIn /> component, centered on the page
4. Create app/auth/sign-up/[[...sign-up]]/page.tsx using Clerk's <SignUp /> component, centered on the page
5. Add NEXT_PUBLIC_CLERK_PUBLISHABLE_KEY and CLERK_SECRET_KEY to .env.local
6. Add NEXT_PUBLIC_CLERK_SIGN_IN_URL, SIGN_UP_URL, AFTER_SIGN_IN_URL, AFTER_SIGN_UP_URL to .env.local

Show me the exact file contents. Use TypeScript.
Clerk webhook → sync users to DB
Webhook handler that syncs Clerk user events (created, updated, deleted) to your Postgres database.
→ Create a Clerk webhook handler at app/api/webhooks/clerk/route.ts for Next.js 15.

Requirements:
- Verify the svix signature using CLERK_WEBHOOK_SECRET
- Handle user.created: INSERT into users table (id=clerk userId, email, name, imageUrl, createdAt=now())
- Handle user.updated: UPDATE user where clerkId matches
- Handle user.deleted: soft delete (set deletedAt = now())
- Return 200 for all valid events, 400 for invalid signature, 500 on DB error
- Use Drizzle ORM with the db imported from @launchkit/database

The users table schema:
- id: text (primary key, equals Clerk userId)
- email: text (not null, unique)
- name: text
- imageUrl: text
- createdAt: timestamp (default now)
- updatedAt: timestamp (default now, on update)
- deletedAt: timestamp (nullable)
Protect server components + API routes
Shows every pattern for getting the current user in server components, API routes, and actions.
→ Show me all patterns for accessing the authenticated user in a Next.js 15 App Router app using Clerk.

Cover:
1. Server Component — using auth() to get userId, fetching user data from DB
2. API Route — protecting a route handler, returning 401 if not authed
3. Server Action — getting userId inside a "use server" function
4. Client Component — using useUser() hook
5. Middleware — accessing auth state in middleware.ts

For each pattern, show:
- The exact import statements
- Error handling if not authenticated
- TypeScript types

Also show how to create a getCurrentUser() helper function in lib/auth.ts
that fetches the full user from the database and throws if not found.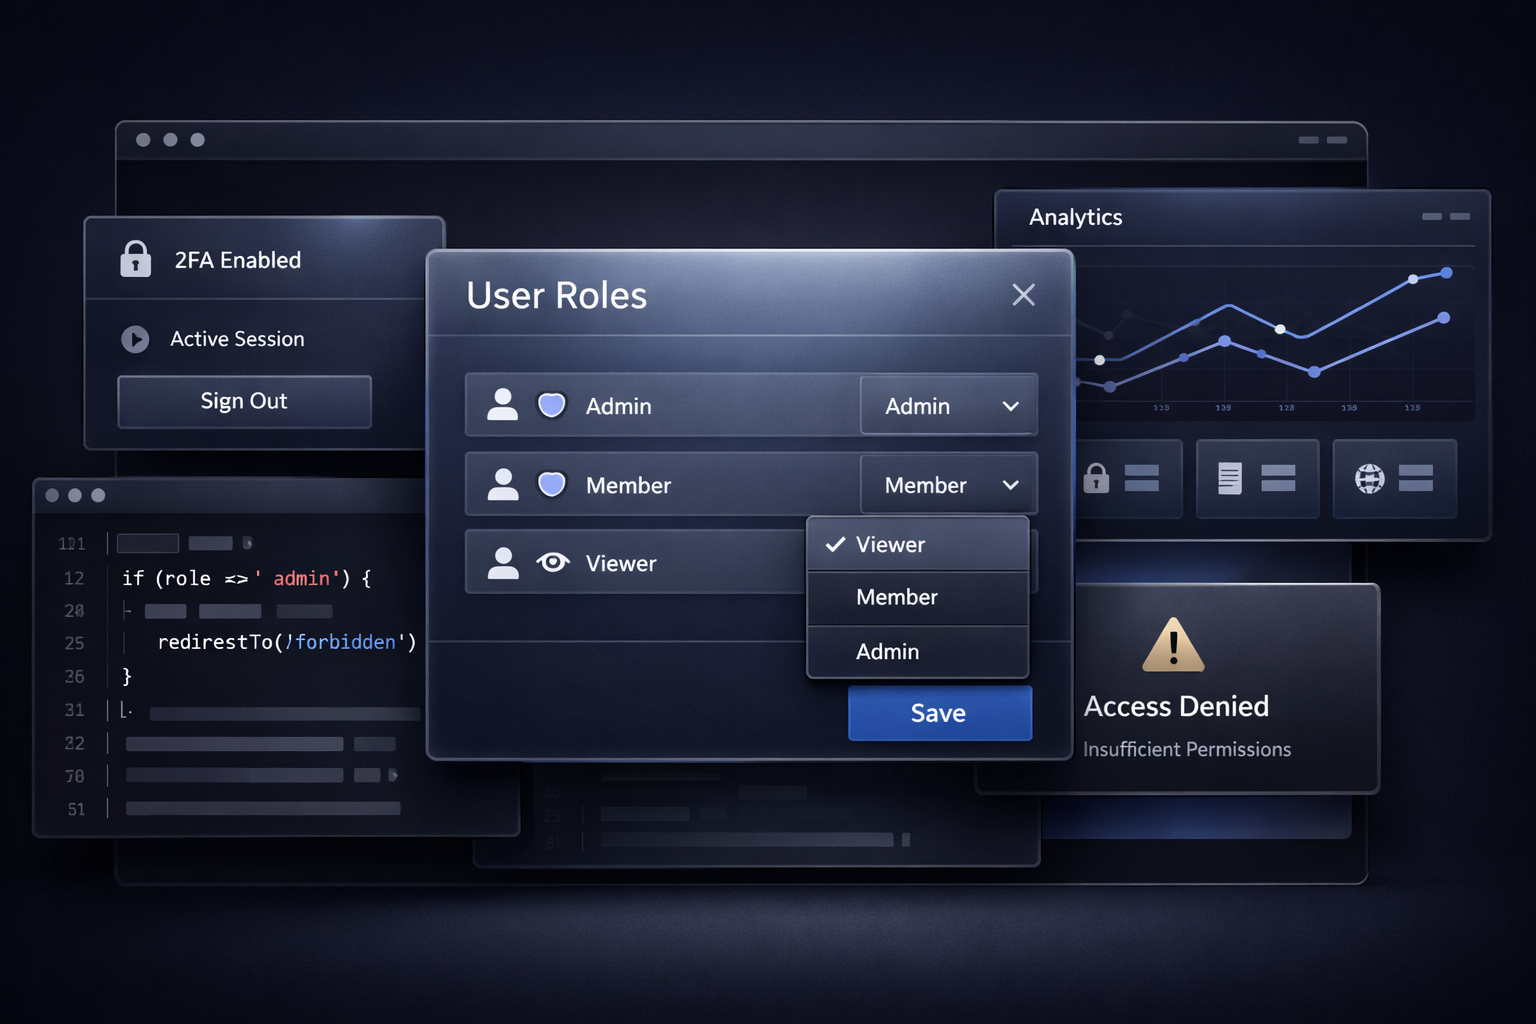
Role-based access control (RBAC)
Add admin/member/viewer roles with route protection and UI-level permission checks.
→ Implement role-based access control in my Next.js 15 app using Clerk.

Requirements:
1. Roles: "admin", "member", "viewer"
2. Store roles in Clerk's user public metadata
3. Create a lib/permissions.ts with:
   - type Role = "admin" | "member" | "viewer"
   - hasRole(userId, role) — server-side check
   - requireRole(role) — throws if user doesn't have the role (use in server actions/API)
   - useRole() — client-side hook using Clerk's useUser()
4. Create a <RoleGate role="admin"> component that hides children if user doesn't have the role
5. Protect /admin/* routes in middleware: redirect to /dashboard if not admin
6. Show a script to set a user as admin via Clerk's API (for the first admin)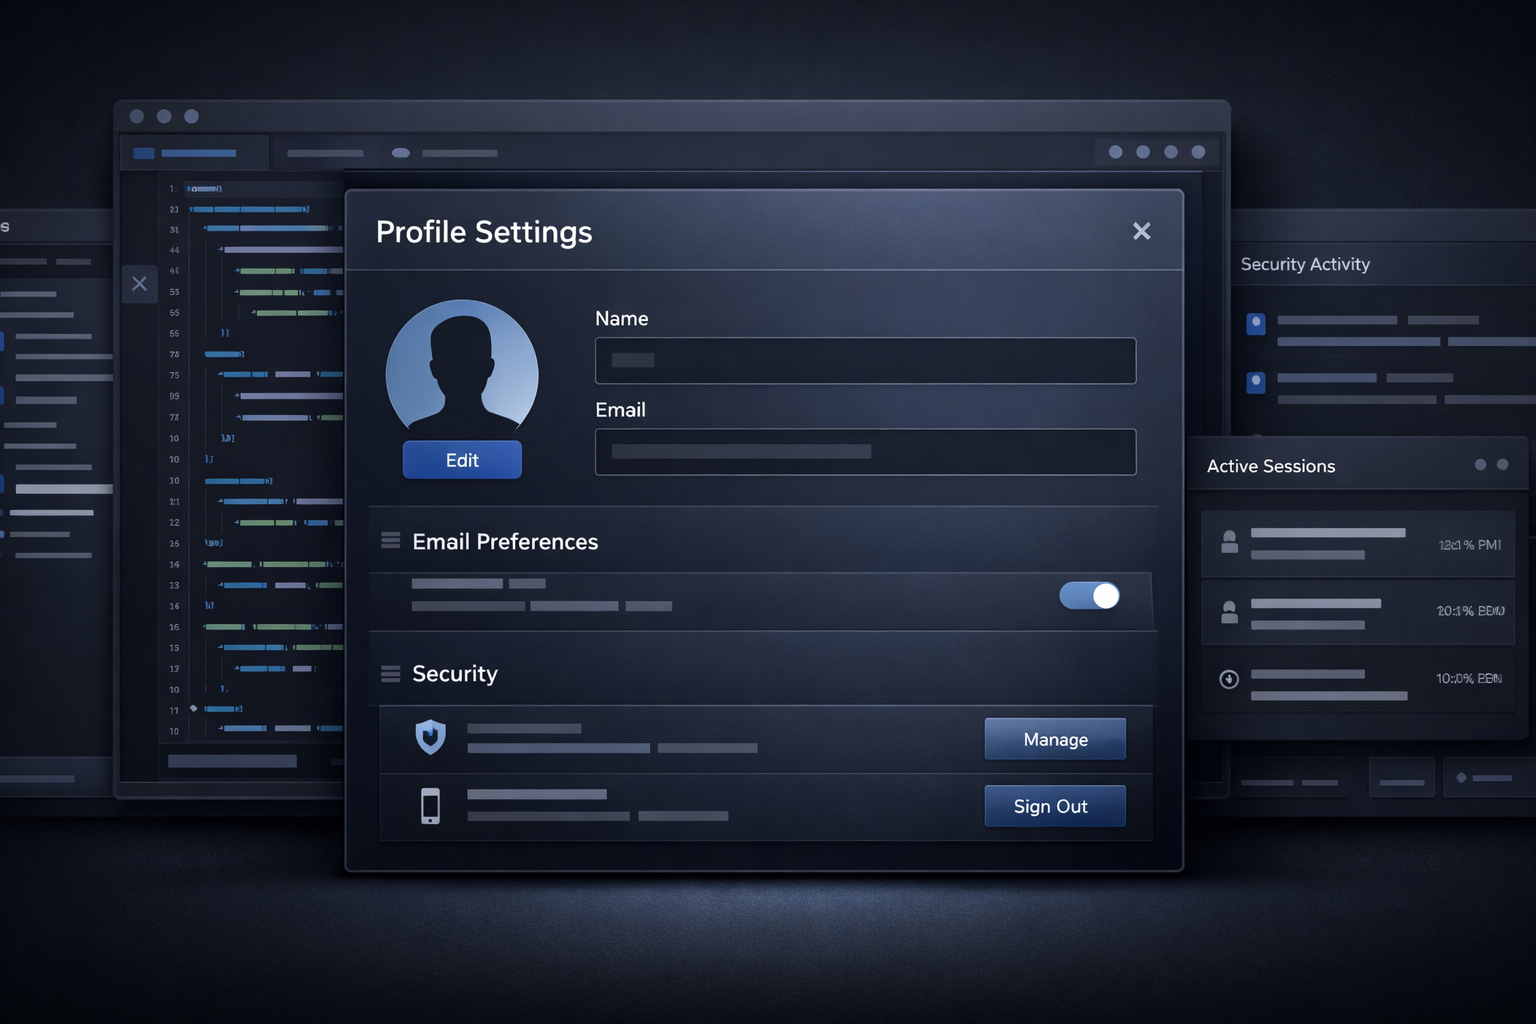
User profile settings page
A complete profile settings page with avatar upload, name editing, and email preferences.
→ Build a user profile settings page at app/dashboard/settings/profile/page.tsx.

Features:
1. Avatar upload — uploads to Vercel Blob, saves URL to Clerk and DB
2. Display name editing — updates Clerk and DB
3. Email notifications toggle (saved to DB as user preference JSON column)
4. Account deletion with confirmation dialog
5. Connected accounts section (shows which OAuth providers are linked)

Use:
- Clerk's useUser() for reading current user
- Clerk's user.update() for name changes
- Server actions for DB updates
- Shadcn UI: Card, Input, Button, Switch, Avatar, Dialog
- react-hook-form + zod for form validation
- sonner for success/error toasts

Show all files: page.tsx, _components/ProfileForm.tsx, actions.ts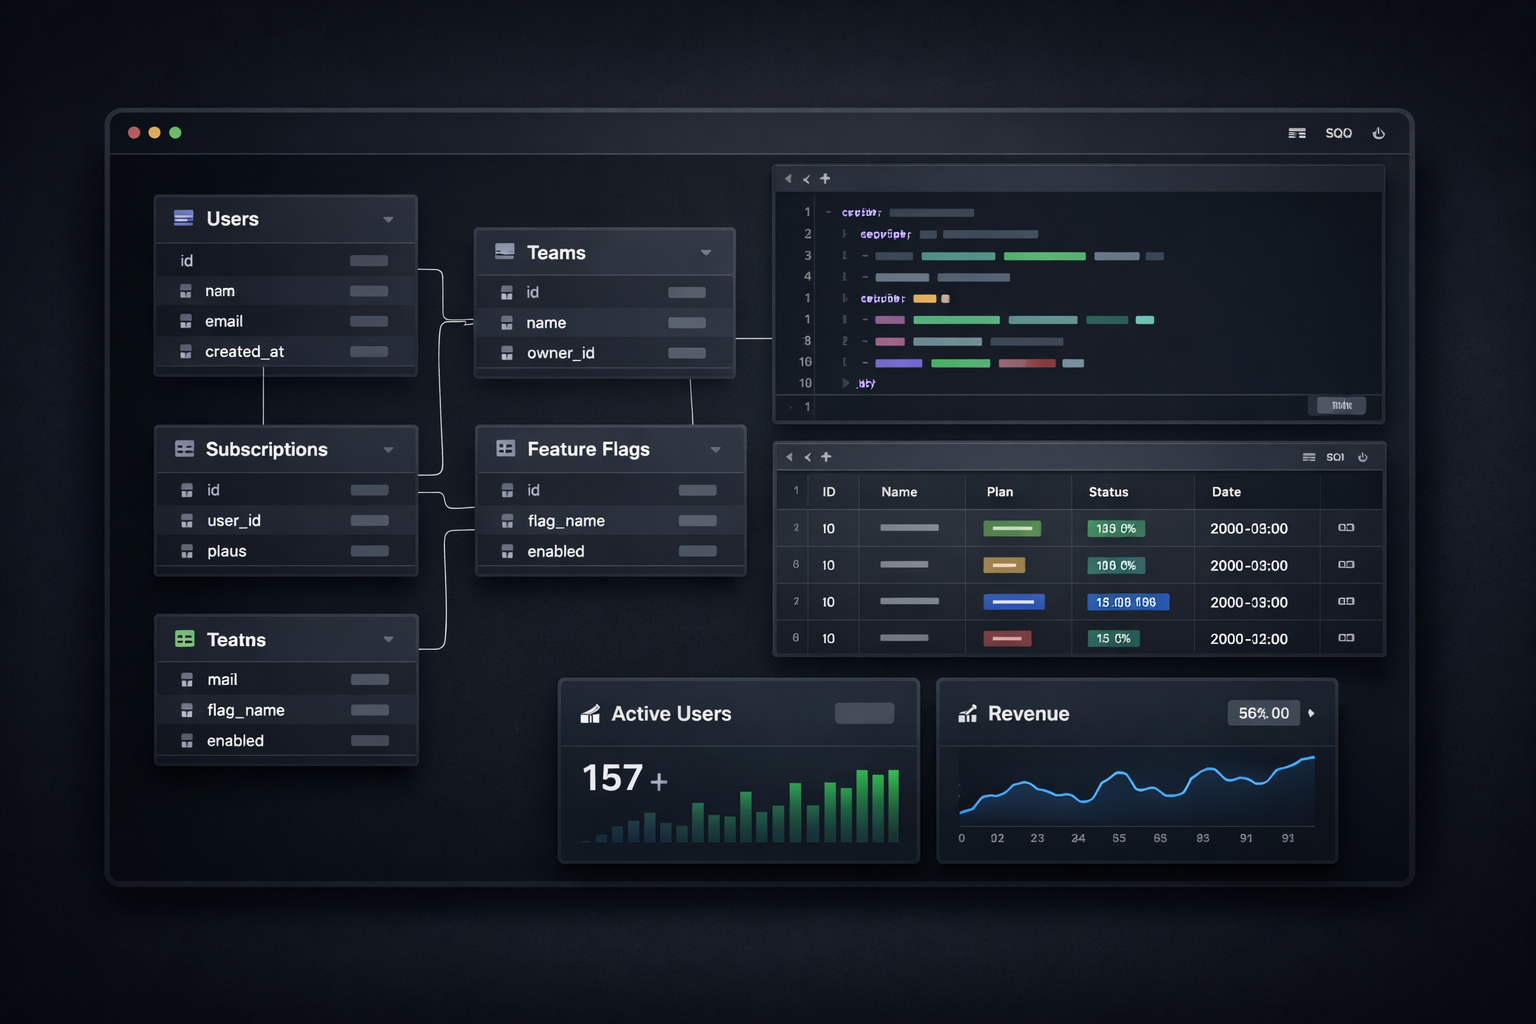
Full SaaS database schema
A production-ready Drizzle schema for users, teams, subscriptions, and feature flags.
→ Write a complete Drizzle ORM schema for a multi-tenant SaaS app with Neon (Postgres).

Tables to create:
1. users — id (uuid), clerkId (text unique), email, name, avatarUrl, role (enum: admin/member), createdAt, updatedAt
2. teams — id (uuid), name, slug (unique), ownerId (→ users), plan (enum: solo/teams), stripeCustomerId, createdAt
3. teamMembers — teamId, userId, role (enum: owner/admin/member), joinedAt [composite PK]
4. subscriptions — id, teamId (→ teams), stripeSubscriptionId, stripePriceId, status (enum), currentPeriodStart, currentPeriodEnd
5. apiKeys — id (uuid), teamId, name, keyHash (text, unique), lastUsedAt, expiresAt, createdBy
6. featureFlags — id, key (unique), enabled (bool), description, rolloutPercentage

For each table:
- Use pgTable from drizzle-orm/pg-core
- Add proper indexes (clerkId, email, stripeCustomerId)
- Export the TypeScript types (InferSelectModel, InferInsertModel)

Put each table in its own file in src/schema/ and export from src/schema/index.ts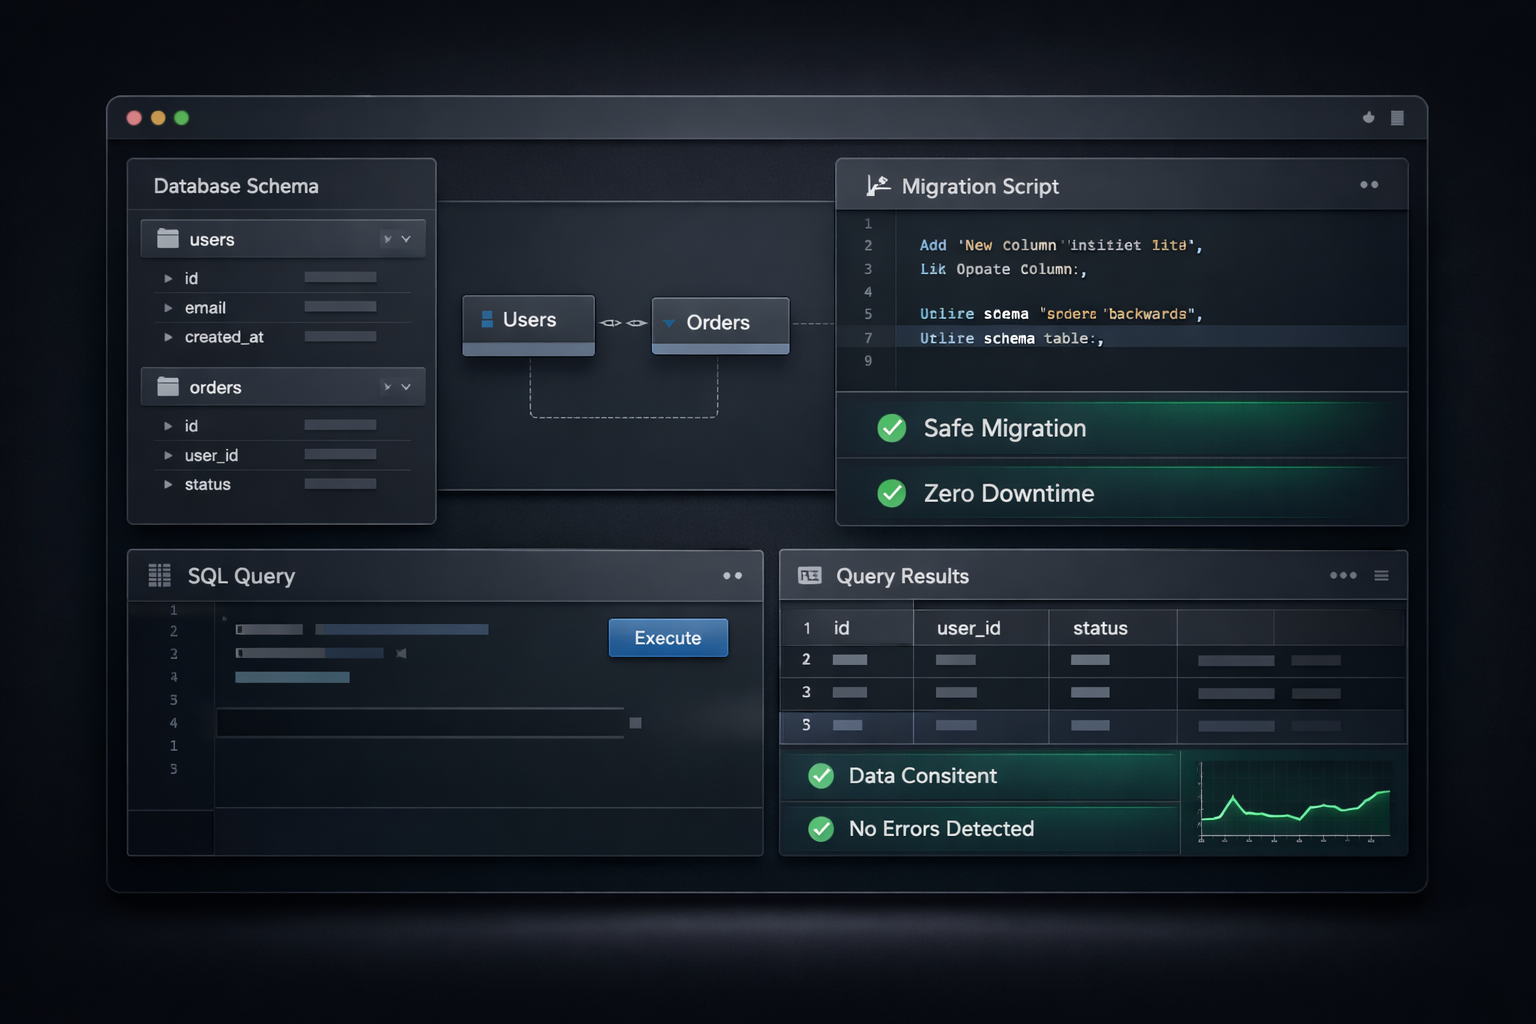
Write a safe DB migration
Shows how to write backwards-compatible schema changes that won't cause downtime.
→ I need to add a billingAddress column to my users table and create an invoices table in my Drizzle ORM schema with Neon Postgres.

Show me how to:
1. Update the users schema to add billingAddress (JSONB, nullable) — this is safe to add without downtime
2. Create the invoices table:
   - id (uuid, pk)
   - userId (→ users, on delete cascade)
   - stripeInvoiceId (text, unique)
   - amount (integer, cents)
   - status (enum: draft, open, paid, void)
   - paidAt (timestamp, nullable)
   - createdAt (timestamp, default now)
3. Add an index on invoices.userId
4. Run the migration with "pnpm db:generate" then "pnpm db:migrate"

Also explain: how do I roll back if something goes wrong? What's the difference between db:push and db:migrate and when to use each?
Common Drizzle query patterns
Copy-paste Drizzle queries for the patterns you write every week.
→ Show me Drizzle ORM query patterns for common SaaS operations. Use TypeScript with full types.

Cover:
1. Find user by clerkId (single record or undefined)
2. Get all teams for a user with their member count (JOIN + GROUP BY)
3. Paginated list of users with total count (LIMIT, OFFSET, count query)
4. Upsert a user (insert or update on conflict)
5. Soft delete (set deletedAt = now(), filter deleted in all queries)
6. Transaction: create a team + add the creator as owner in one atomic operation
7. Full-text search on user name or email using ILIKE
8. Count records grouped by status (for a dashboard metric)

For each example:
- Show the complete query
- Show the TypeScript return type
- Note any gotchas or performance considerations
Database seed script
Creates realistic test data for development so you can build against real records.
→ Write a database seed script at packages/database/src/seed.ts for my SaaS app.

Create:
- 3 users (one admin, two regular members)
- 2 teams: one on Solo plan, one on Teams plan
- 5 teamMembers across both teams
- 2 active subscriptions
- 10 API keys (mix of active and expired)
- Sample feature flags (dark_mode: true, beta_ai: false, new_dashboard: 50% rollout)

Requirements:
- Use Drizzle ORM inserts
- Use @faker-js/faker for realistic data
- Idempotent: run "if exists, skip" so it's safe to run multiple times
- Log what was created
- Add a script to package.json: "db:seed": "tsx src/seed.ts"

Show the complete seed.ts file.
Stripe Checkout (one-time purchase)
Creates a Stripe Checkout session for one-time products with success/cancel redirects.
→ Create a Stripe Checkout flow for a one-time purchase in Next.js 15 App Router.

Files to create:
1. app/api/billing/checkout/route.ts (POST):
   - Gets authenticated userId from Clerk
   - Accepts { priceId, plan } in request body
   - Creates a Stripe Checkout session with:
     - mode: "payment"
     - payment_method_types: ["card", "link"]
     - allow_promotion_codes: true
     - metadata: { userId, plan }
     - success_url: /dashboard?success=true
     - cancel_url: /pricing
   - Returns { url } for client redirect

2. A checkout button component: components/CheckoutButton.tsx
   - Calls the API, then window.location.href to the returned URL
   - Shows loading spinner during redirect
   - Use Shadcn Button

3. The Stripe client setup: lib/stripe.ts
   - Exports a singleton Stripe instance using STRIPE_SECRET_KEY

Include error handling and TypeScript types.
Stripe webhook handler
Handles checkout.session.completed, invoice events, and subscription changes reliably.
→ Build a Stripe webhook handler at app/api/webhooks/stripe/route.ts for Next.js 15.

Handle these events:
1. checkout.session.completed
   - Mark user/team as paid in DB
   - Set plan based on metadata.plan
   - Store stripeCustomerId on team record
   - Send welcome email via Resend

2. customer.subscription.updated
   - Update subscription status and period dates in DB

3. customer.subscription.deleted
   - Downgrade team to free plan
   - Set subscription.status = "canceled"

4. invoice.payment_failed
   - Send payment failure email via Resend
   - Log the failure

Requirements:
- Verify signature with STRIPE_WEBHOOK_SECRET using stripe.webhooks.constructEvent
- Return 200 immediately after verification (async event processing)
- Idempotent: check if event already processed before DB writes
- Use Drizzle ORM
- Full TypeScript types
Stripe Customer Portal
One API route that opens Stripe's hosted portal for subscription management.
→ Create a Stripe Customer Portal redirect in Next.js 15.

Build app/api/billing/portal/route.ts (POST):
1. Get authenticated userId from Clerk
2. Look up user's stripeCustomerId from DB
3. Create a Stripe billing portal session:
   - customer: stripeCustomerId
   - return_url: /dashboard/billing
4. Return { url } for redirect

Build app/dashboard/billing/page.tsx:
- Show current plan (Solo/Teams/Free)
- Show subscription status and renewal date
- "Manage Billing" button that calls the portal API and redirects
- "Upgrade" button if on free plan (links to /pricing)
- Show a table of the last 5 invoices from Stripe API

Use Shadcn Card, Badge, Button. Fetch invoices server-side.
Stripe Tax (inclusive pricing)
Shows buyers exactly what they pay — no surprise tax at checkout. Tax is built into the price.
→ Configure Stripe Tax with inclusive pricing in my Stripe Checkout integration.

I sell at $149 (Solo) and $299 (Teams). The price shown to buyers must be exactly what they pay — tax is included, not added on top.

Show me how to:
1. Enable Stripe Tax on my account (what settings to toggle in the Stripe Dashboard)
2. Set up tax-inclusive pricing on my price objects (in Stripe Dashboard and via API)
3. Update my Checkout session creation to include:
   - automatic_tax: { enabled: true }
   - The correct tax_behavior on the price
4. Display "Tax included" on my pricing page (UI snippet using Shadcn)
5. Handle the tax amount in my webhook (how to extract it from checkout.session.completed)
6. Set up Stripe Tax registration for US states (which ones to register in first)

Show exact Stripe Dashboard steps + code.
Usage-based billing with Stripe Meters
Track API calls or AI tokens and charge users at end of billing period.
→ Implement usage-based billing for AI token credits using Stripe Meters.

Architecture:
- Users buy a base plan ($29/month) that includes 100k tokens
- Overage is billed at $0.01 per 1k tokens at end of month
- Track usage in real-time in my DB + Stripe Meter

Create:
1. lib/usage.ts
   - trackUsage(userId, tokens): records usage to DB + reports to Stripe Meter
   - getRemainingTokens(userId): checks current month usage vs plan limit
   - function to format usage for display

2. DB schema additions:
   - usageLogs table (userId, tokens, model, timestamp)
   - Monthly aggregation query

3. API middleware that:
   - Checks remaining tokens before processing AI request
   - Returns 429 with "quota exceeded" if limit hit

4. Dashboard widget showing current month usage + cost estimate

Show the complete implementation with Stripe Meter API calls.
API route boilerplate (Next.js 15)
A robust API route template with auth, validation, error handling, and typed responses.
→ Create a Next.js 15 App Router API route boilerplate that I can copy for any endpoint.

The boilerplate should include:
1. Auth check using Clerk (return 401 if not authenticated)
2. Request body validation using zod (return 400 with validation errors)
3. Try/catch with typed error responses
4. Consistent response format: { data, error, success }
5. TypeScript types for request and response
6. Rate limiting placeholder comment

Example endpoint: POST /api/projects — creates a new project for the authenticated user.

Schema:
- name: string (3-50 chars)
- description: string (optional, max 200 chars)
- slug: string (auto-generated from name if not provided)

Also create a lib/api.ts helper with:
- successResponse(data)
- errorResponse(message, status)
- parseBody(request, schema) — validates and returns typed body
API key authentication system
Create, rotate, and validate scoped API keys so users can access your API programmatically.
→ Build an API key system for my SaaS product in Next.js 15.

Features:
1. Key generation: create a random 32-byte hex key, store only the SHA-256 hash in DB
   - Table: apiKeys (id, teamId, name, keyHash, prefix, scopes[], lastUsedAt, expiresAt)
   - Return the full key once on creation — never again

2. Key validation middleware (lib/api-key.ts):
   - Extract from Authorization: Bearer header
   - Hash and look up in DB
   - Return the associated teamId and scopes

3. API routes:
   - POST /api/keys — create a new key (auth required, returns full key once)
   - GET /api/keys — list keys for team (masked: show only prefix)
   - DELETE /api/keys/:id — revoke a key

4. Dashboard UI page at /dashboard/developers:
   - Table of API keys (name, prefix, scopes, last used, created)
   - "Create Key" modal with name + scope selector
   - Copy key modal (shows full key once after creation)
   - Delete with confirmation

Show all files. Use Shadcn UI.
Rate limiting with Upstash Redis
Per-user rate limiting on API routes using Upstash Redis and the @upstash/ratelimit package.
→ Add per-user rate limiting to my Next.js 15 API routes using Upstash Redis.

Setup:
1. lib/rate-limit.ts:
   - Create a sliding window limiter: 100 requests per 60 seconds
   - Create a stricter limiter for auth endpoints: 5 requests per 60 seconds
   - Export a rateLimit(identifier) function that returns { success, limit, remaining, reset }

2. API route middleware pattern:
   - Check rate limit using userId (authenticated) or IP (unauthenticated)
   - Return 429 with Retry-After header if exceeded
   - Add X-RateLimit-Limit, X-RateLimit-Remaining headers to all responses

3. Apply to:
   - /api/ai/* — 20 requests per minute
   - /api/auth/* — 5 requests per minute
   - /api/* — 100 requests per minute

4. Show how to set UPSTASH_REDIS_REST_URL and UPSTASH_REDIS_REST_TOKEN in .env.local

Include the middleware pattern and a reusable withRateLimit() HOF.
Send signed outbound webhooks
Let users register webhook URLs and receive signed event payloads when things happen in your app.
→ Build an outbound webhook system so users can subscribe to events from my SaaS.

Architecture:
1. DB schema: webhookEndpoints (id, teamId, url, secret, events[], enabled, createdAt)

2. Webhook delivery (lib/webhooks.ts):
   - sendWebhook(teamId, event, payload) — finds all endpoints for team+event, sends HTTP POST
   - Sign payload with HMAC-SHA256 using endpoint secret
   - Include headers: X-LaunchKit-Signature, X-LaunchKit-Event, X-LaunchKit-Timestamp
   - Retry 3 times on failure with exponential backoff
   - Log delivery attempt to webhookDeliveries table (status, statusCode, error)

3. API routes:
   - POST /api/webhooks — register endpoint
   - GET /api/webhooks — list endpoints
   - DELETE /api/webhooks/:id — remove endpoint
   - POST /api/webhooks/:id/test — send a test event

4. Available events: user.created, team.updated, payment.completed, subscription.canceled

Show complete implementation.
Streaming API response (Server-Sent Events)
Stream long-running responses (AI, exports, jobs) to the client without timeouts.
→ Show me how to implement streaming responses in Next.js 15 App Router.

Cover two patterns:

Pattern 1 — AI text streaming:
- POST /api/ai/chat route that streams from OpenAI
- Use Vercel AI SDK's streamText()
- Return a ReadableStream
- Client component using useChat() hook from ai/react

Pattern 2 — Progress streaming for long jobs:
- POST /api/export/csv that starts a long export job
- Stream progress updates: { progress: 0-100, message: string }
- Client component that shows a progress bar
- SSE pattern using TransformStream

For each:
- Show the complete API route
- Show the client component
- Show how to handle errors mid-stream
- Show how to cancel the stream from the client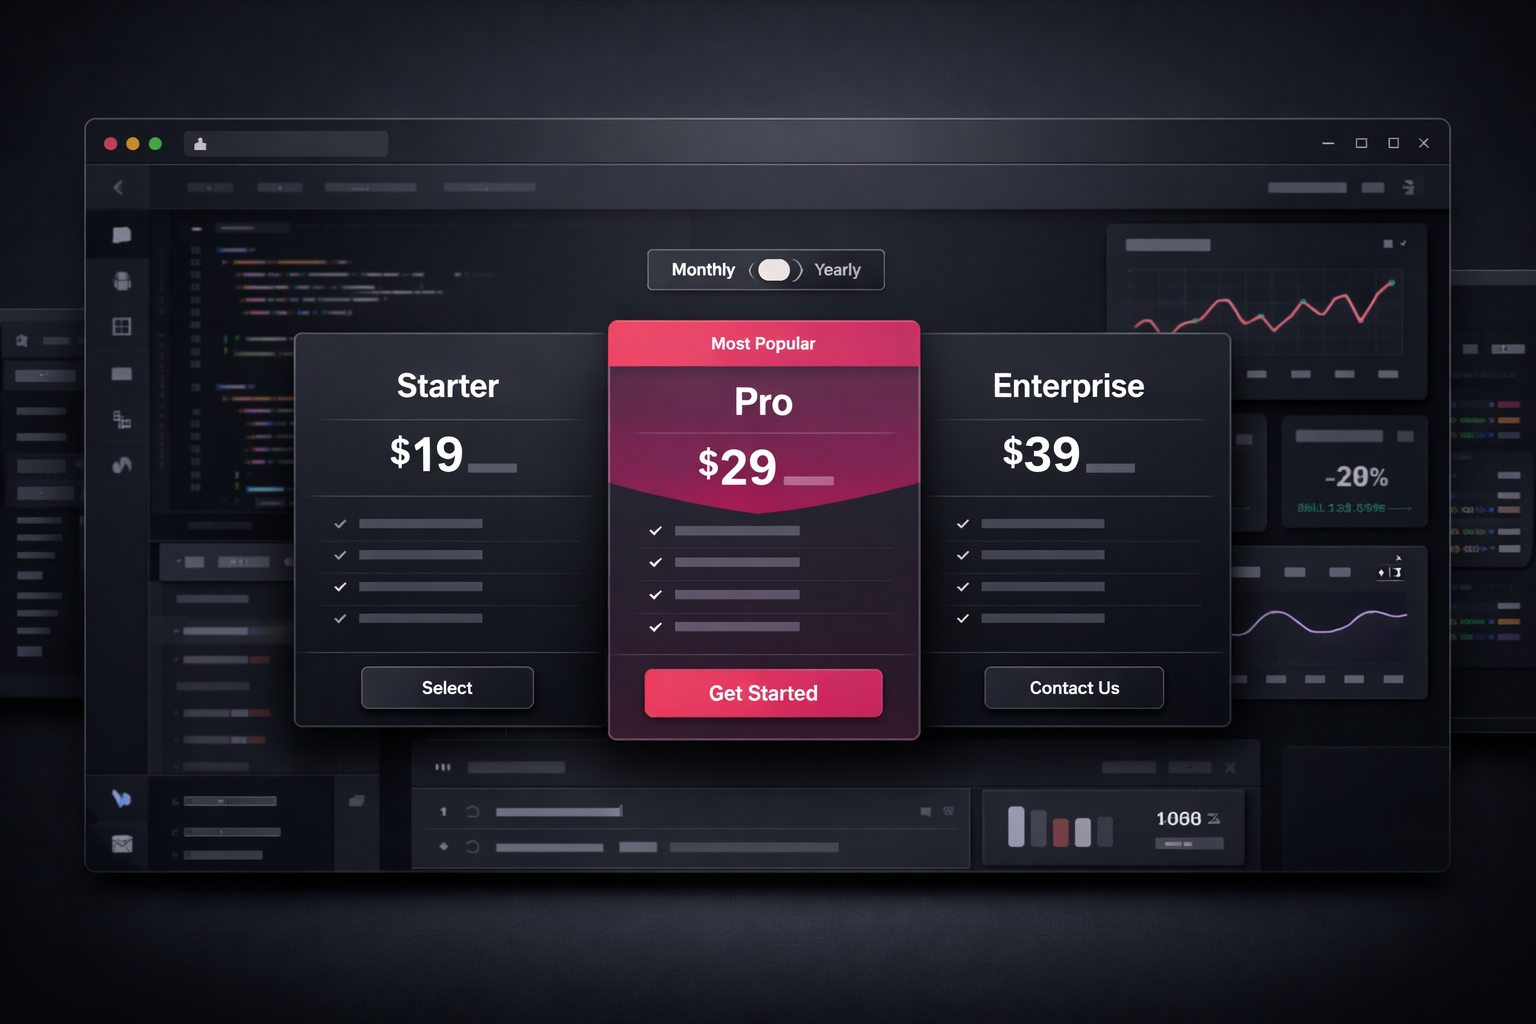
Pricing table component
A conversion-optimized pricing table with toggle, feature list, and highlight for the recommended plan.
→ Build a pricing table component for a SaaS with two plans: Solo ($149) and Teams ($299), both one-time.

Requirements:
- Monthly/Annual toggle (for future — currently both are one-time)
- Three columns: Free (limited), Solo, Teams
- "Most Popular" badge on Teams plan
- Feature list with checkmarks and X marks
- Animated highlight on the recommended plan
- "Get Started" CTA button for each plan
- "Tax included" note below price
- Mobile responsive (stack vertically on mobile)

Features to include in the table:
- Solo: 1 project, Clerk auth, Stripe, Neon, Resend, AI SDK, Vercel deploy
- Teams: Everything in Solo + Teams/orgs, Admin dashboard, Priority support, All future updates

Use Shadcn UI (Card, Badge, Button). Use Framer Motion for the highlight animation.
Export as PricingTable component with optional onSelectPlan prop.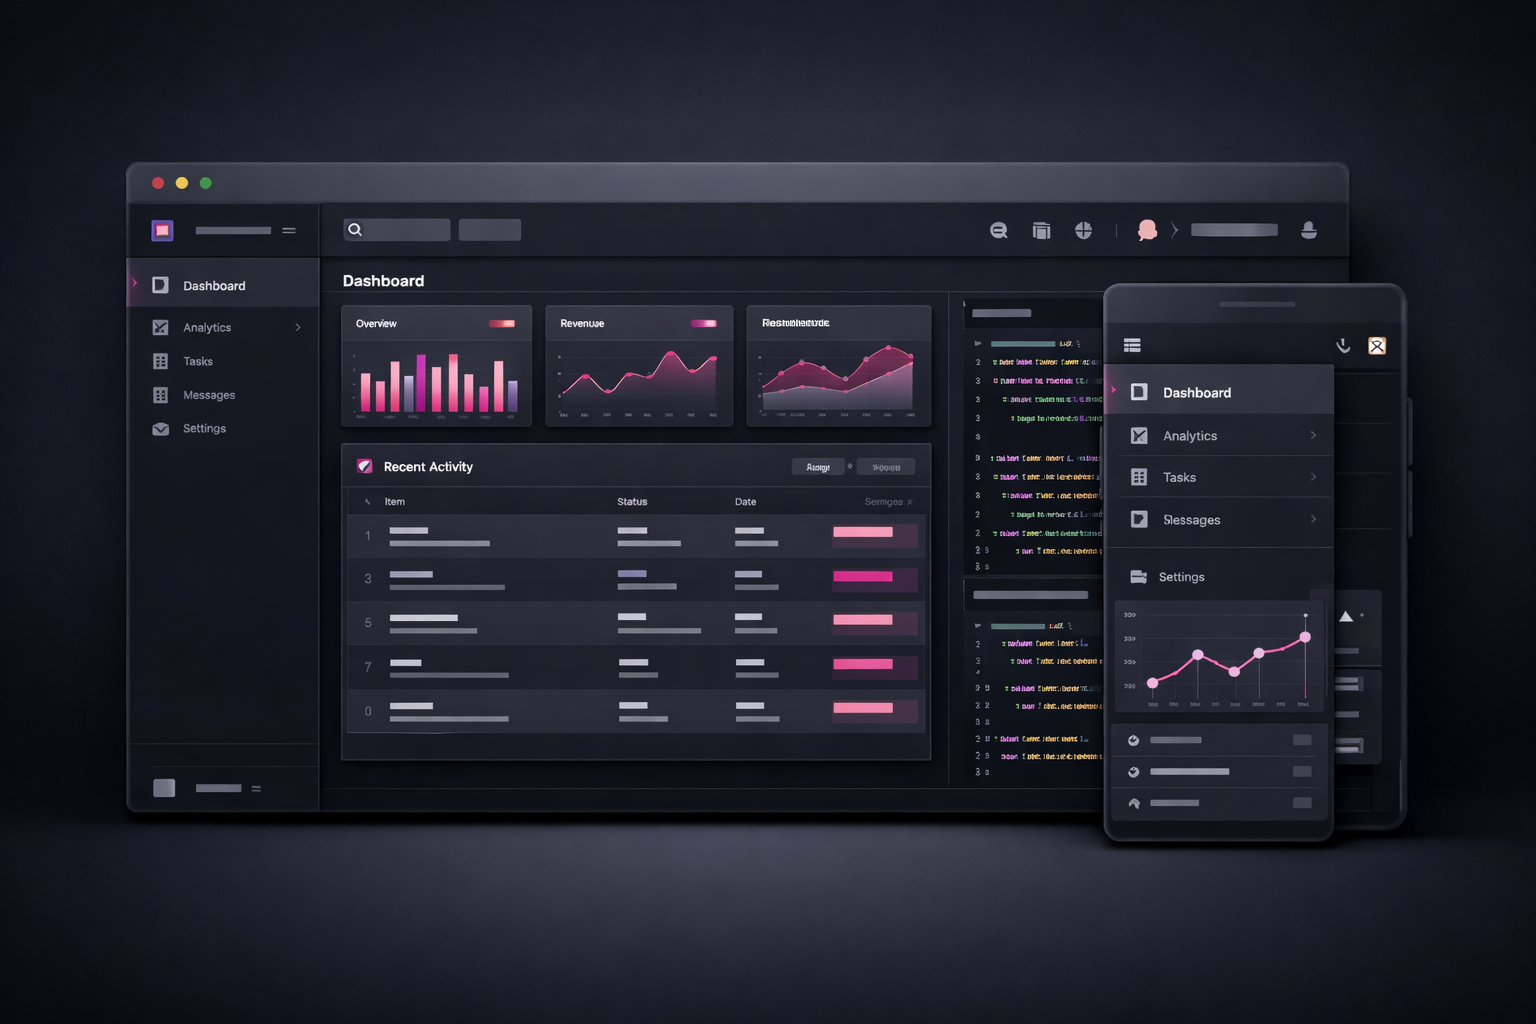
SaaS dashboard layout
A complete dashboard shell with sidebar, header, and responsive mobile drawer.
→ Build a complete SaaS dashboard layout in Next.js 15 App Router.

Structure:
- app/dashboard/layout.tsx — wraps all dashboard pages
- components/dashboard/Sidebar.tsx — desktop sidebar
- components/dashboard/MobileDrawer.tsx — mobile slide-out
- components/dashboard/DashboardHeader.tsx — top bar with breadcrumbs + user menu

Sidebar nav items:
- Dashboard (LayoutDashboard icon) → /dashboard
- Projects (FolderOpen) → /dashboard/projects
- Team (Users) → /dashboard/team
- Billing (CreditCard) → /dashboard/billing
- Settings (Settings) → /dashboard/settings
- separator
- Docs (BookOpen) → /docs (external)

Requirements:
- Active state highlighting with animated indicator
- Collapsible on desktop (icon-only mode, tooltip labels)
- UserButton (Clerk) in the bottom of sidebar
- Organization switcher if user has multiple orgs
- Keyboard shortcut: ⌘K for command palette

Use Shadcn UI, Tailwind, Framer Motion for animations.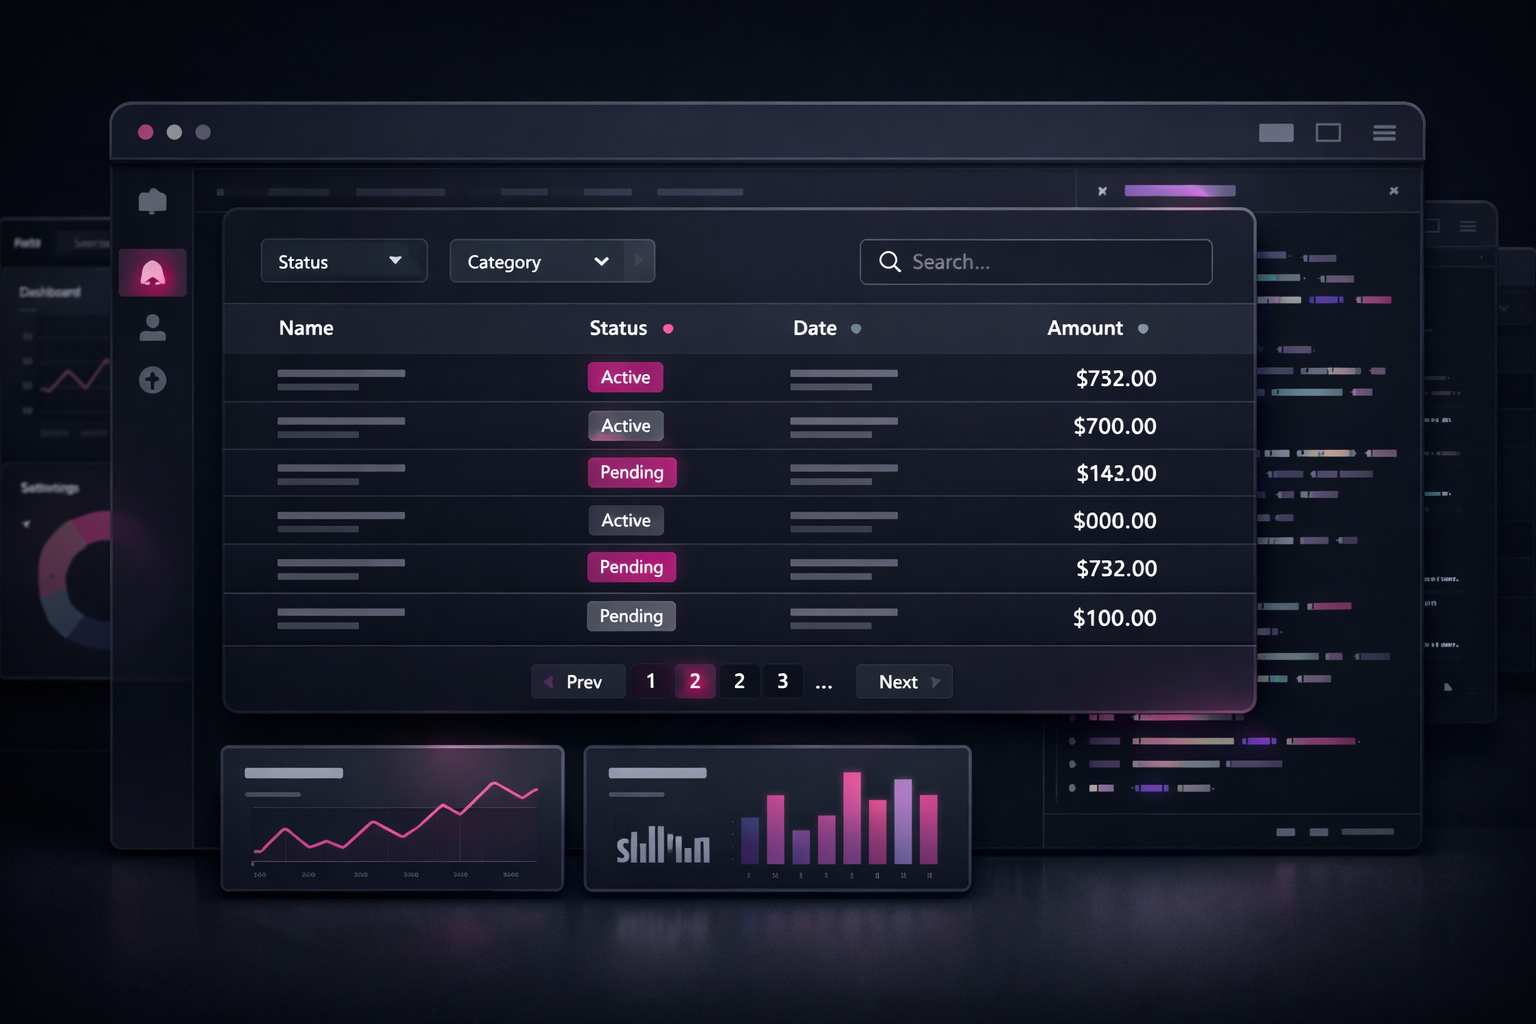
Data table with sorting + filtering
A production-grade data table built on TanStack Table with column sorting, search, and pagination.
→ Build a reusable data table component using TanStack Table v8 and Shadcn UI.

The table should support:
1. Column sorting (click header to sort, click again to reverse)
2. Global text search (filters all string columns)
3. Column visibility toggle (hide/show columns via dropdown)
4. Server-side pagination (page size: 10, 25, 50, 100)
5. Row selection with bulk actions toolbar
6. Column filters (per-column dropdown or date range picker)
7. Loading skeleton state
8. Empty state with illustration and CTA

Build it for a "Users" table with columns:
- Checkbox, Avatar+Name, Email, Role (badge), Status (badge), Created date, Actions menu

Files to create:
- components/ui/data-table.tsx — reusable generic DataTable<T>
- components/ui/data-table-toolbar.tsx — search + filters
- components/ui/data-table-pagination.tsx
- app/admin/users/columns.tsx — column definitions
- app/admin/users/page.tsx — fetches data, renders table

Use TypeScript generics. Show complete implementation.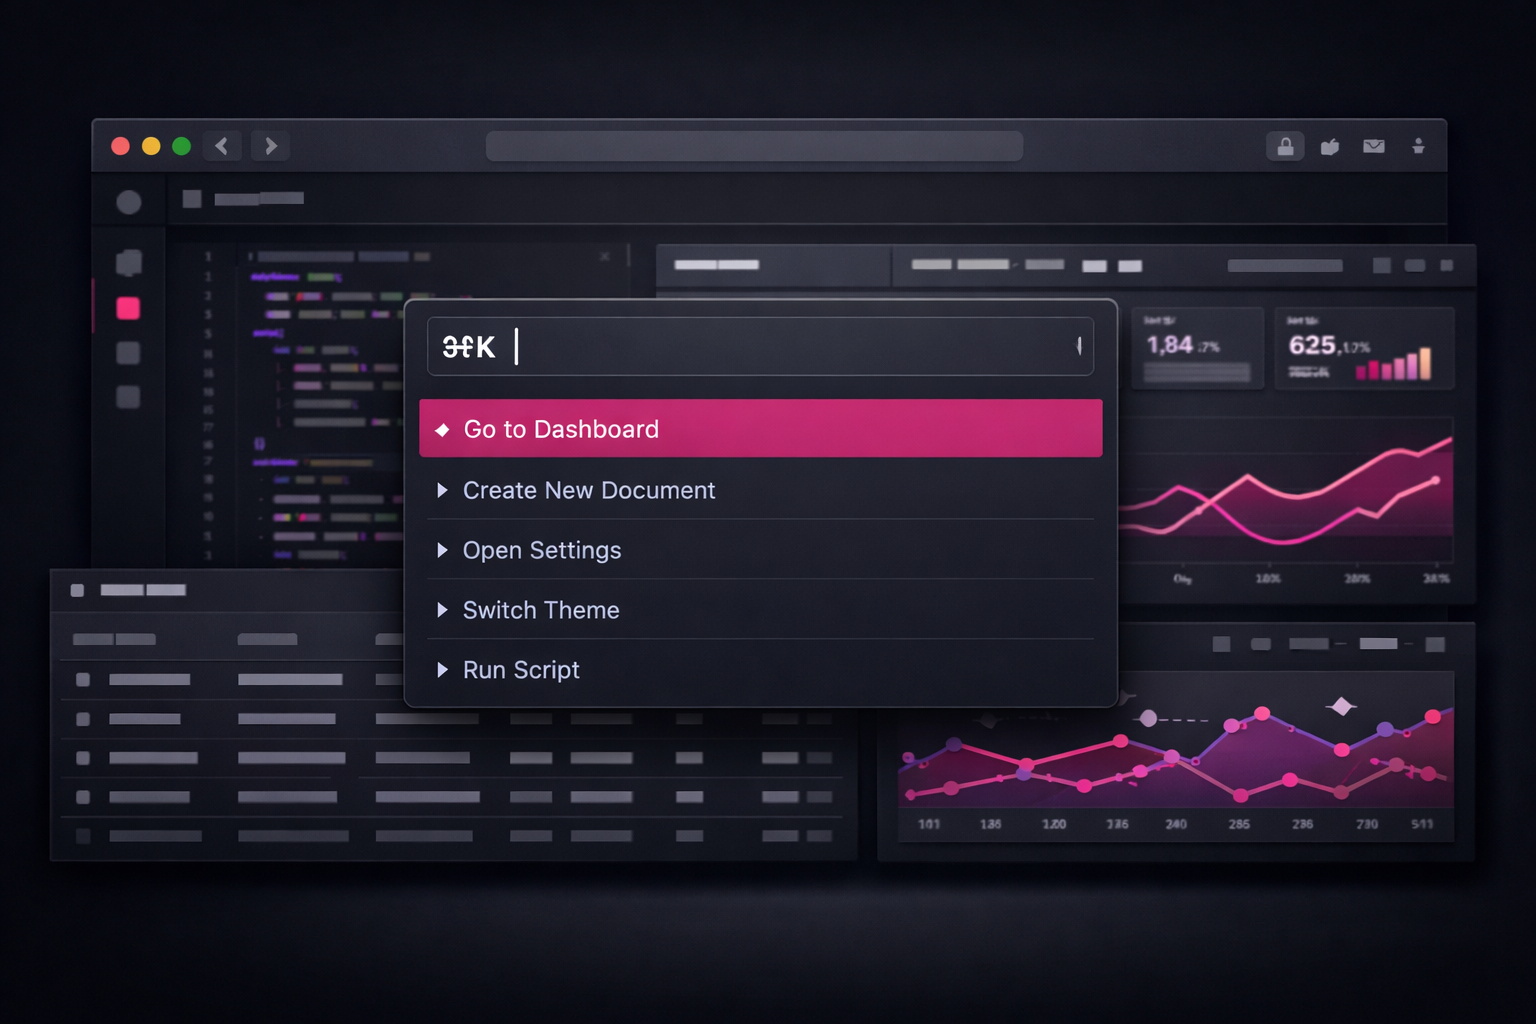
Command palette (⌘K)
A fuzzy-search command palette for fast navigation — the power user feature every SaaS needs.
→ Add a command palette (⌘K) to my Next.js 15 SaaS dashboard.

Use Shadcn's Command component (built on cmdk).

Features:
1. Opens with ⌘K (Mac) / Ctrl+K (Windows/Linux)
2. Groups:
   - Navigation (go to Dashboard, Projects, Settings, Billing)
   - Team (invite member, switch organization)
   - Actions (create project, generate API key, export data)
   - Theme (toggle dark/light mode)
3. Fuzzy search across all commands
4. Keyboard navigation (arrow keys, Enter to execute)
5. Recent commands (last 5, stored in localStorage)
6. Each command has an icon, label, shortcut hint, and action

Implementation:
- components/CommandPalette.tsx (client component)
- Global keyboard listener in dashboard layout
- Context/state for open/close
- Navigate using Next.js router for navigation commands

Show complete code.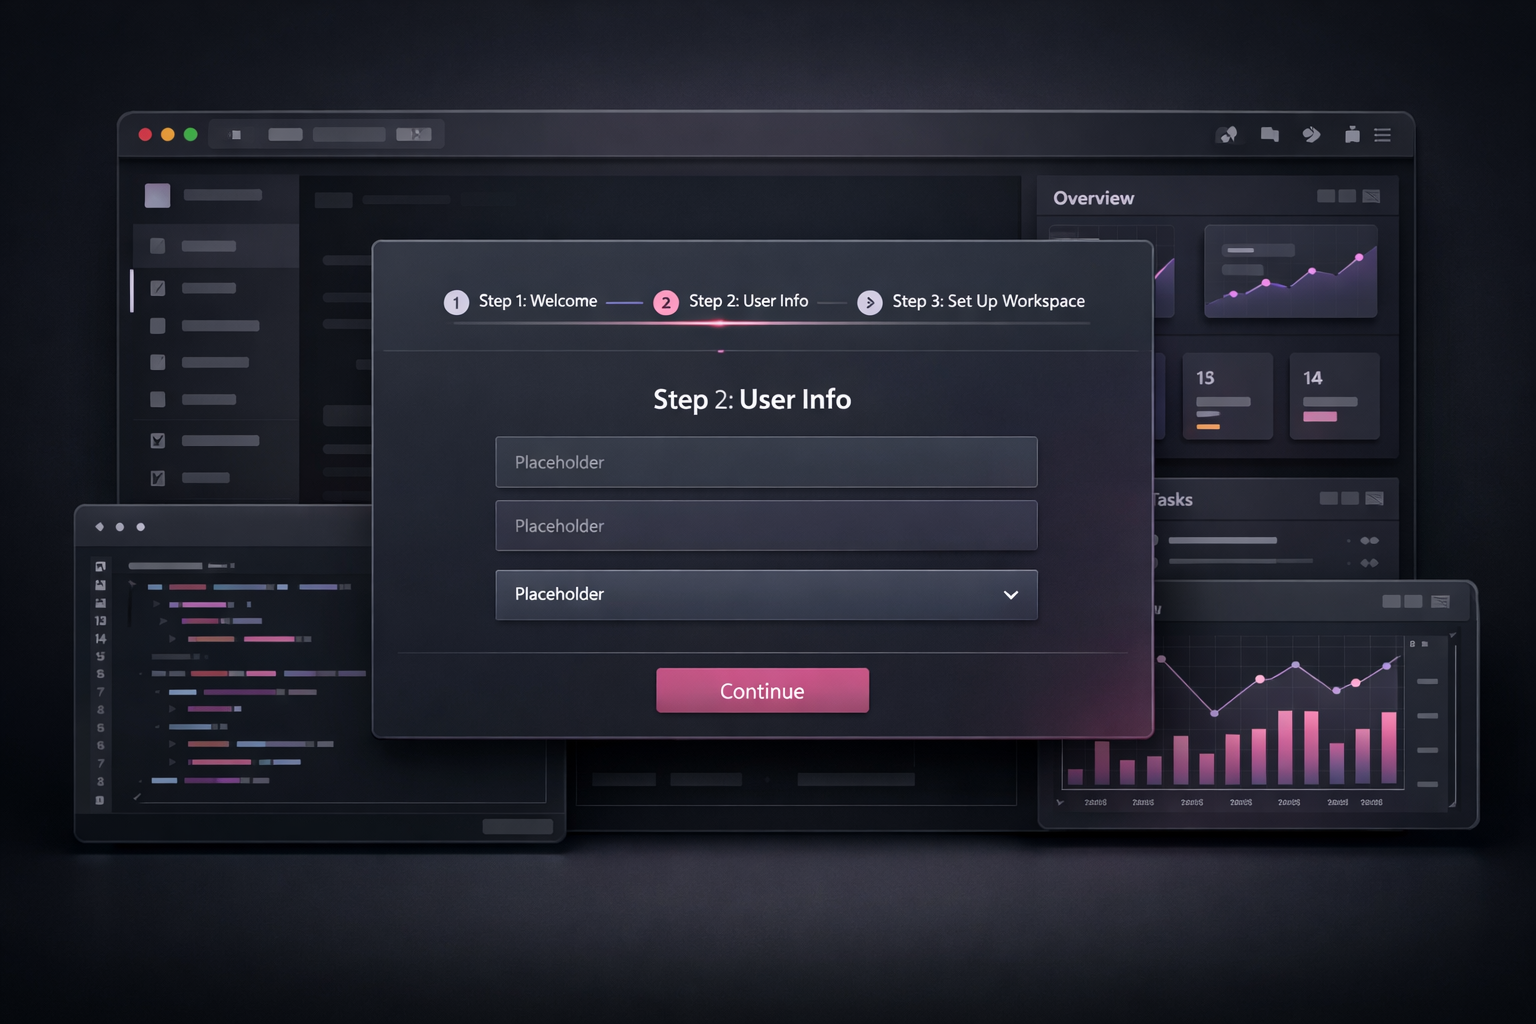
User onboarding flow
A multi-step onboarding wizard that collects user info and creates their workspace.
→ Build a multi-step onboarding flow for new users in Next.js 15.

Steps:
1. Welcome — "Tell us about yourself" (role: founder/developer/designer/other)
2. Project — "Name your first project" (name, description)
3. Team — "Invite your team" (optional email invite, skip button)
4. Setup — Progress bar while we set up their workspace (fake or real)
5. Done — Confetti + redirect to dashboard

Requirements:
- Redirect to /onboarding if user has no completedOnboarding flag
- Progress indicator showing step X of 5
- Back/Next navigation, form validation on each step
- Save each step's data to DB (upsert, in case they close and return)
- Skip button on optional steps
- Mobile responsive
- Animated step transitions with Framer Motion

Files:
- app/onboarding/page.tsx
- app/onboarding/_components/OnboardingWizard.tsx
- app/onboarding/_components/steps/ (one file per step)
- actions/onboarding.ts (server actions)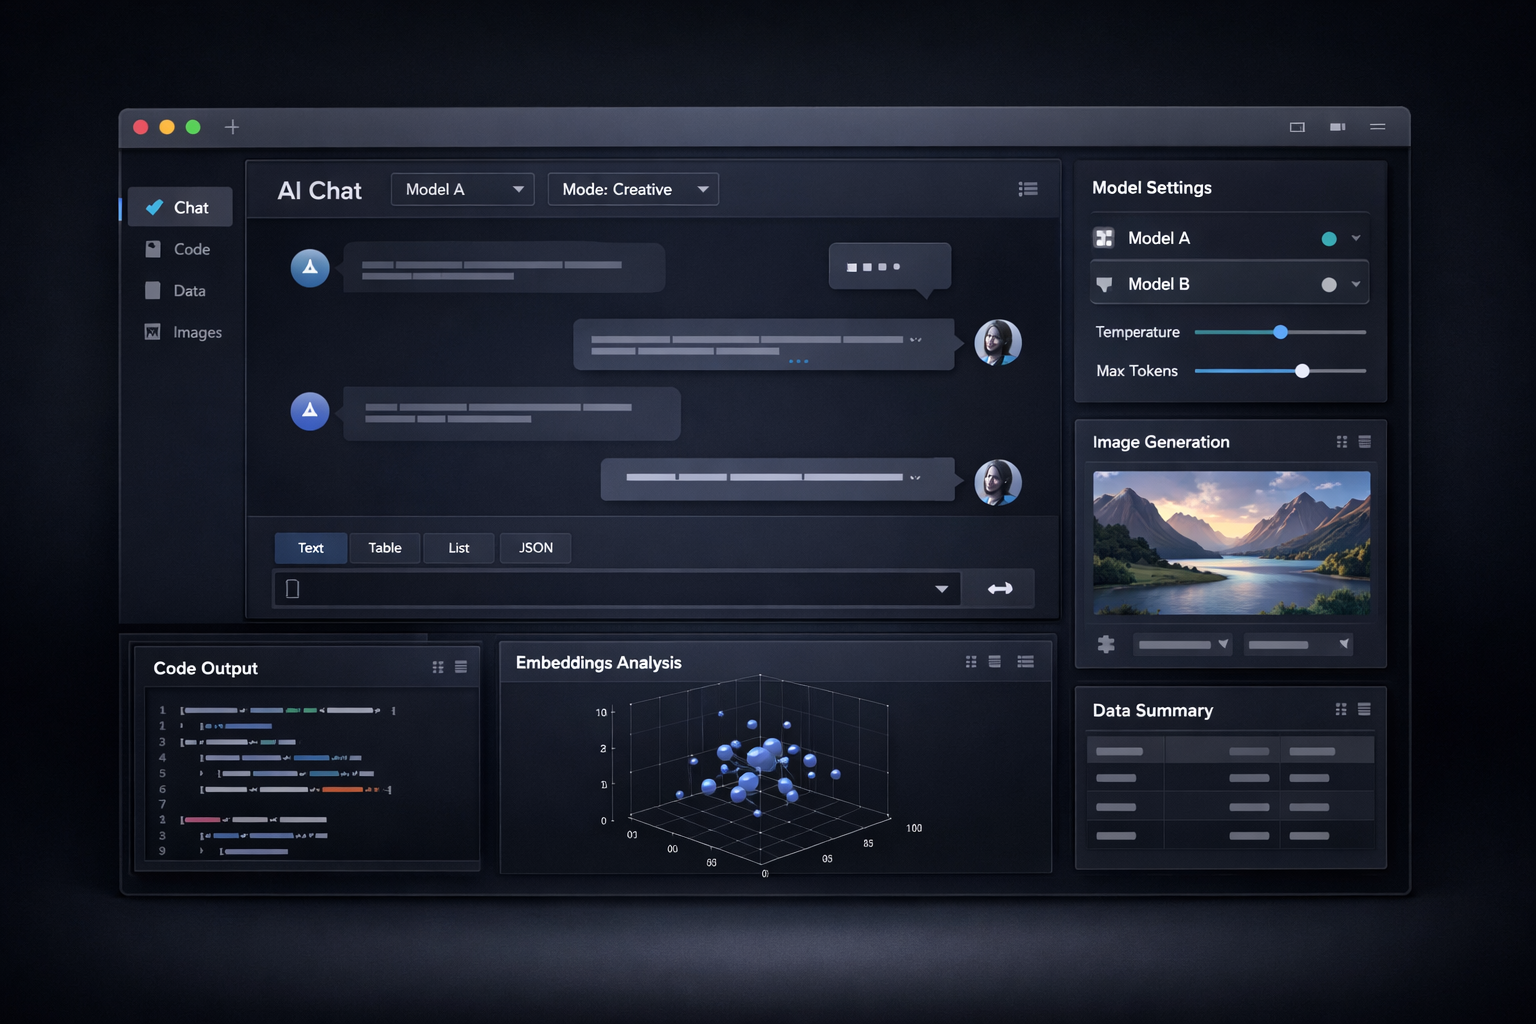
AI chat interface (streaming)
A full chat UI with streaming responses, message history, and model switching.
→ Build a streaming AI chat interface using Vercel AI SDK in Next.js 15.

Backend — app/api/ai/chat/route.ts:
- Use Vercel AI SDK's streamText() with OpenAI (gpt-4o-mini default)
- System prompt: "You are a helpful assistant for [App Name]."
- Stream to client using toDataStreamResponse()
- Accept { messages, model } in request body
- Rate limit: 20 requests per minute per user

Frontend — app/dashboard/ai/page.tsx:
- useChat() hook from "ai/react"
- Message list with user/assistant bubbles
- Code block rendering with syntax highlighting (use react-syntax-highlighter)
- Copy button on each message
- Regenerate last response button
- Model selector dropdown (gpt-4o-mini, gpt-4o, claude-3-5-sonnet)
- Token usage display (prompt + completion tokens)
- Auto-scroll to bottom on new message
- Input with Enter to send, Shift+Enter for newline

Use Shadcn UI components. Mobile responsive.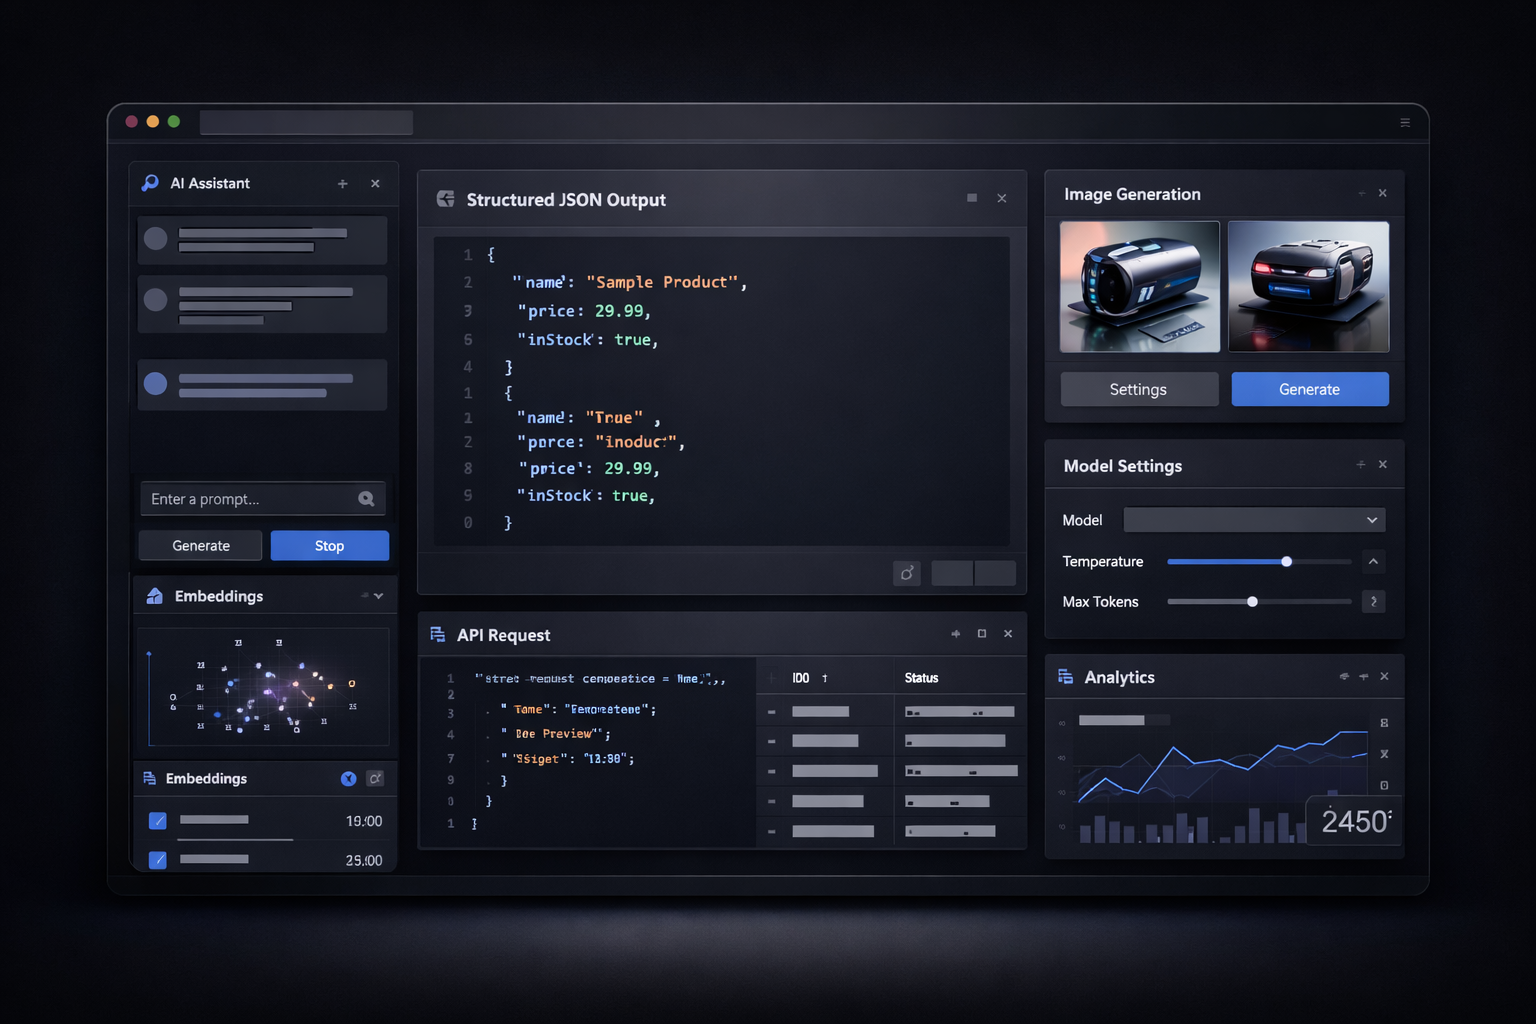
Structured AI output with zod
Get typed JSON from any LLM — no more parsing, no more hallucinated field names.
→ Show me how to use Vercel AI SDK's generateObject() to get typed structured output from an LLM.

Use cases to demonstrate:

1. Content generation:
   - Input: product description (string)
   - Output: { headline: string, subheadline: string, bullets: string[], cta: string }

2. Data extraction:
   - Input: raw text from a webpage
   - Output: { companyName, foundedYear, employeeCount, productCategories[] }

3. Classification:
   - Input: customer support message
   - Output: { sentiment: "positive"|"negative"|"neutral", category: "billing"|"bug"|"feature"|"other", urgency: 1-5, suggestedResponse: string }

For each:
- Show the zod schema
- Show the generateObject() call
- Show how to handle errors when the model can't produce valid JSON
- Show how to use the typed output in a server action

Also show how to use streamObject() for partial streaming of structured output.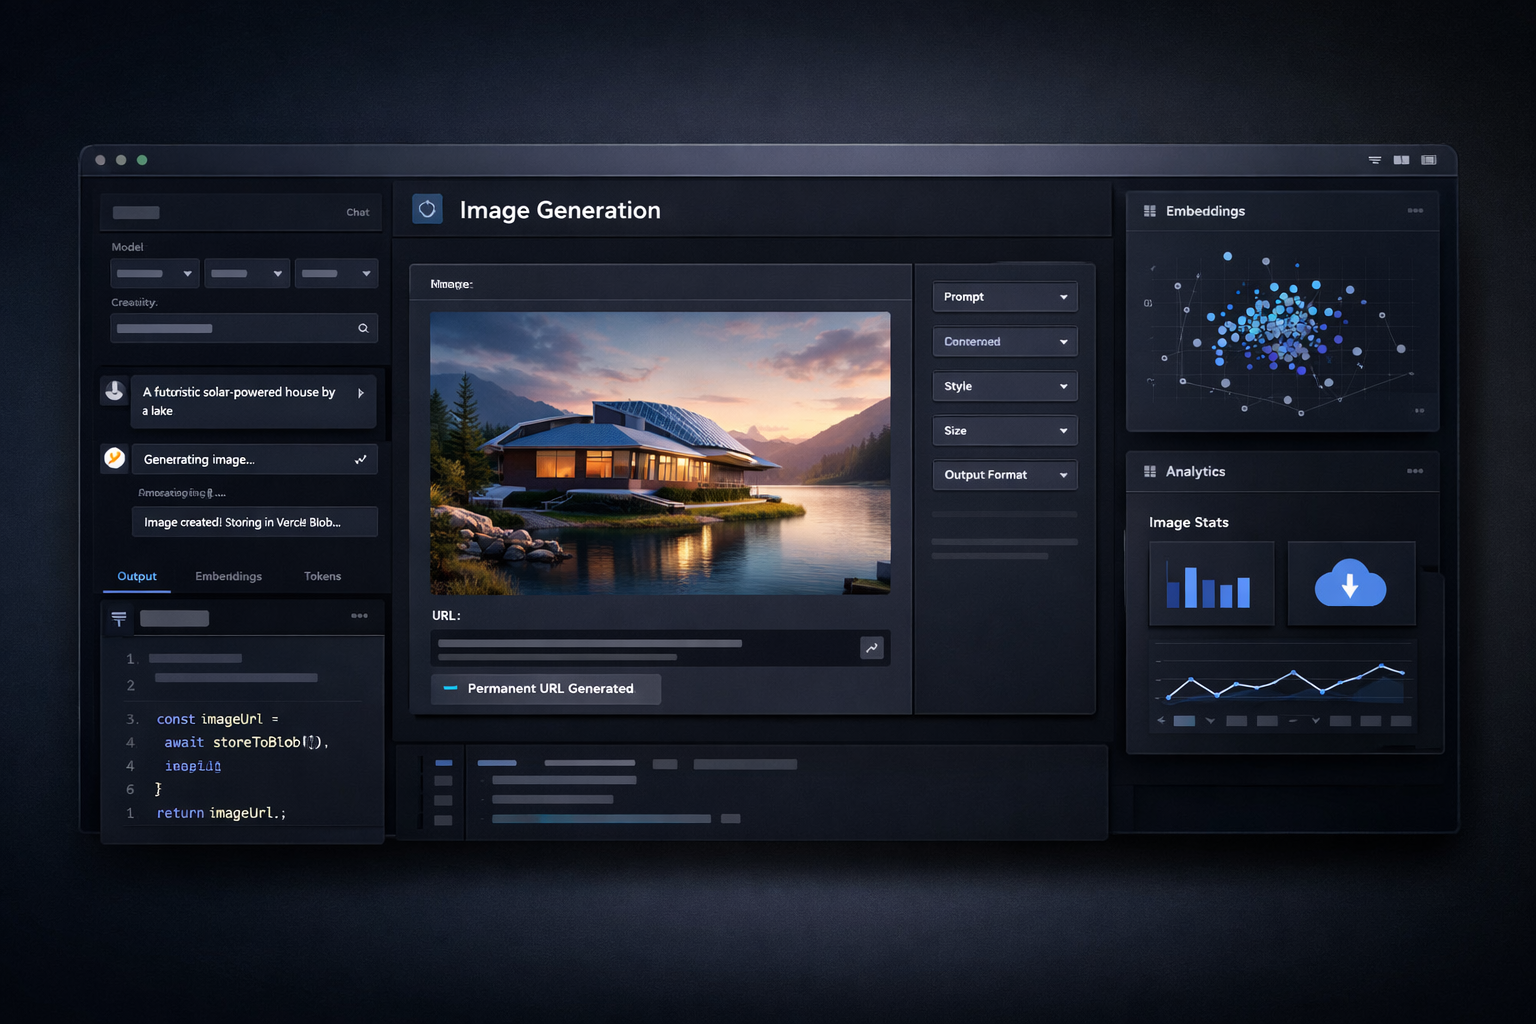
AI image generation endpoint
Generate images via DALL·E 3, store them in Vercel Blob, and return a permanent URL.
→ Build an AI image generation endpoint in Next.js 15.

Backend — app/api/ai/generate-image/route.ts:
1. Auth check (Clerk) + rate limit (3 images per minute per user)
2. Check user has enough credits (from DB)
3. Call OpenAI images.generate with:
   - model: "dall-e-3"
   - prompt: (from request)
   - size: "1024x1024"
   - quality: "hd"
   - style: "vivid" | "natural"
4. Upload the returned image URL to Vercel Blob (permanent storage)
5. Save record to DB: generatedImages (id, userId, prompt, blobUrl, createdAt)
6. Deduct credits from user balance
7. Return { imageUrl, creditsRemaining }

Frontend component: components/ai/ImageGenerator.tsx
- Prompt input + style selector
- Generate button with loading state
- Result display with download button
- Gallery of recent generations (fetch from DB)
- Credits remaining badge

Show complete implementation.
Semantic search with embeddings
Store and search content using vector embeddings in Postgres with pgvector.
→ Implement semantic search using OpenAI embeddings and pgvector in my Next.js 15 + Neon app.

Setup:
1. Enable pgvector extension in Neon (show the SQL command)
2. Add embedding column to my documents table: vector(1536)
3. Create an index: CREATE INDEX ON documents USING ivfflat (embedding vector_cosine_ops)

Embedding pipeline (lib/embeddings.ts):
- embedText(text): calls OpenAI text-embedding-3-small, returns number[]
- embedAndStore(documentId, text): generates + saves embedding to DB
- semanticSearch(query, limit): embeds query, returns most similar documents with score

API route — POST /api/search:
- Accepts { query, limit? }
- Performs semantic search
- Returns results with similarity scores

Drizzle integration:
- Show how to use the sql template literal to do the cosine similarity query
- Show how to insert a vector value via Drizzle

Also show a hybrid search pattern: combine semantic + keyword search for better results.
Deploy Turborepo to Vercel
Configure Vercel to build and deploy just the web app from a Turborepo monorepo.
→ Configure Vercel to deploy the Next.js app from my Turborepo monorepo.

Show me:
1. vercel.json configuration at the monorepo root:
   - Build command pointing to the web app
   - Output directory
   - Install command using pnpm

2. Environment variables to set in Vercel dashboard (list all required ones)

3. How to set up Preview deployments for feature branches

4. How to configure the Vercel project via CLI:
   - vercel link
   - vercel env pull
   - vercel deploy --prod

5. Turborepo + Vercel Remote Cache setup:
   - How to get the TURBO_TOKEN
   - How to add it to Vercel env vars
   - Expected speedup

6. GitHub Actions alternative: a workflow that runs tests then deploys to Vercel on merge to main

Include the exact vercel.json and the GitHub Actions YAML.
Custom domain + SSL on Vercel
Point your domain to Vercel and set up SSL in under 10 minutes.
→ Walk me through setting up a custom domain on Vercel with SSL.

My setup: domain purchased on Namecheap, deploying to Vercel.

Step-by-step:
1. Add domain in Vercel dashboard (exact steps + screenshots description)
2. Which DNS records to create in Namecheap:
   - Root domain: A record vs ALIAS/ANAME — which to use and why
   - www subdomain: CNAME record value
   - Exact record values Vercel will show
3. How long DNS propagation takes and how to check it
4. Verify SSL is working (what green lock means, how to test)
5. Set up www → root redirect (or root → www, explain the tradeoff)
6. Set NEXT_PUBLIC_APP_URL env var in Vercel to the new domain
7. Update Clerk allowed origins
8. Update Stripe webhook endpoint URL

Also show how to add a /docs subdomain (like docs.myapp.com) pointing to Mintlify.
CI/CD with GitHub Actions
Run type checks, linting, and tests on every PR — then auto-deploy to Vercel on merge.
→ Create GitHub Actions workflows for my Next.js 15 Turborepo monorepo.

Workflow 1 — PR checks (.github/workflows/ci.yml):
- Trigger: on pull_request to main
- Steps: checkout, pnpm install, type-check (tsc --noEmit), lint (eslint), build
- Use Turborepo remote cache with TURBO_TOKEN secret
- Run on ubuntu-latest with Node 20

Workflow 2 — Deploy (.github/workflows/deploy.yml):
- Trigger: on push to main (after merge)
- Steps: checkout, install, build, deploy to Vercel
- Use VERCEL_TOKEN, VERCEL_ORG_ID, VERCEL_PROJECT_ID secrets
- Only deploy if build succeeds
- Post deployment URL to PR as a comment

Workflow 3 — Dependabot config (.github/dependabot.yml):
- Weekly updates for npm packages
- Group minor/patch into one PR
- Auto-merge patch updates

Show complete YAML for all three files.
Error monitoring + logging setup
Catch errors in production before users report them — Sentry + structured logging.
→ Set up error monitoring and structured logging for my Next.js 15 production app.

Part 1 — Sentry:
1. Install and configure @sentry/nextjs
2. sentry.client.config.ts and sentry.server.config.ts
3. Capture uncaught errors in app/global-error.tsx
4. Add user context (userId, email) to Sentry errors
5. Set up performance monitoring (tracing)
6. Configure Sentry in next.config.ts with withSentryConfig
7. Environment-specific DSN (dev: disabled, staging: warning, prod: full)

Part 2 — Structured logging:
1. Create lib/logger.ts using pino or winston
2. Log levels: debug, info, warn, error
3. Include: timestamp, requestId, userId, route, duration
4. Server-side: write to stdout (Vercel captures it)
5. Create a request logger middleware for API routes

Part 3 — Health check endpoint:
- GET /api/health returns { status, db: "ok"|"error", version, uptime }
- Check DB connectivity
- Use this for uptime monitoring (UptimeRobot, Better Uptime)
Feature flags (no external service)
Ship features to a % of users or specific user groups — no Flagsmith, no LaunchDarkly.
→ Implement a feature flag system without any external service using my existing DB.

Schema (already created — show me the queries):
- featureFlags (key, enabled, description, rolloutPercentage, allowedUserIds[])

Implementation:
1. lib/flags.ts:
   - isEnabled(key, userId?): checks DB, returns boolean
   - Cache flags in memory for 60 seconds (avoid DB hit on every request)
   - Support: global on/off, percentage rollout, specific user allowlist

2. React integration:
   - <FeatureFlag name="new_dashboard"> component that conditionally renders children
   - useFeatureFlag("new_dashboard") hook for client components
   - Pass flags from server to client via server component props

3. Admin UI at /admin/flags:
   - Table of all flags
   - Toggle on/off
   - Edit rollout percentage
   - Add/remove specific user IDs

4. Usage in code examples:
   - In a server component
   - In a server action
   - In middleware (for redirects)

Show the complete implementation.
PRD → execution plan
Turn a rough feature brief into a repo-ready plan before asking an agent to write code.
→ Read this feature brief and create a review-ready implementation plan for this repository.

Include:
1. Assumptions and constraints
2. Affected files and ownership boundaries
3. Data model or API changes
4. UI states and edge cases
5. Rollout and rollback notes
6. Testing strategy

Persist the plan as docs/implementation/[feature-name]-plan.md.
Do not write implementation code yet.
Codebase map before editing
Get a clean file-level map so the implementation prompt has focused context.
→ Map the parts of this codebase relevant to this task before editing.

Return:
- Key files and what each file owns
- Important imports, data flow, and route boundaries
- Existing patterns I should preserve
- Unknowns or risky assumptions
- The smallest set of files that should be edited first

Keep the output concise. Do not modify files in this pass.
Zero-context implementation handoff
Generate a handoff prompt another agent can execute without prior chat context.
→ Create a zero-context implementation handoff for the plan at docs/implementation/[feature-name]-plan.md.

The handoff must tell the next agent to:
1. Read the plan file first
2. Follow the repo's AGENTS.md / CLAUDE.md rules
3. Execute the plan step by step
4. Keep edits scoped to the planned files unless a blocker is found
5. Run the relevant verification commands
6. Summarize changed files, tests, and remaining risks

Return only the handoff prompt.
Premium UI polish pass
Improve a SaaS page visually without turning it into a generic landing page.
→ Polish this UI for a production SaaS audience.

Requirements:
- Keep the layout dense, readable, and task-focused
- Improve hierarchy, spacing, hover states, empty states, and responsive behavior
- Use the existing design system and component patterns
- Avoid explanatory text about how the UI works
- Do not add decorative clutter or unrelated sections
- Check that text fits inside buttons/cards on mobile and desktop

After editing, list the specific UI risks you checked.
Bug reproduction packet
Force the agent to understand the bug before it starts changing code.
→ Investigate this bug and first produce a reproduction packet.

Include:
1. Observed behavior
2. Expected behavior
3. Minimal reproduction steps
4. Likely root cause with file references
5. The smallest safe fix
6. Regression tests that should be added

Do not edit code until the reproduction is clear.
Done criteria verifier
Stop agents from claiming completion before requirements are verified.
→ Before calling this task done, verify the implementation against the original requirements.

Return a checklist where each requirement is:
- pass
- fail
- not verified

Also include:
1. Commands run
2. Tests added or updated
3. Manual QA still needed
4. Known risks
5. Files changed

If anything is not verified, say exactly why.Stop writing prompts.
Start shipping.
Every pattern in this library — Clerk auth, Stripe / Lemon Squeezy billing, Drizzle ORM, AI chat, API keys, webhooks — is already implemented, tested, and connected in LaunchKit. Clone it and start building your actual product.